Why would you want to export a structure from Minecraft: Education Edition?
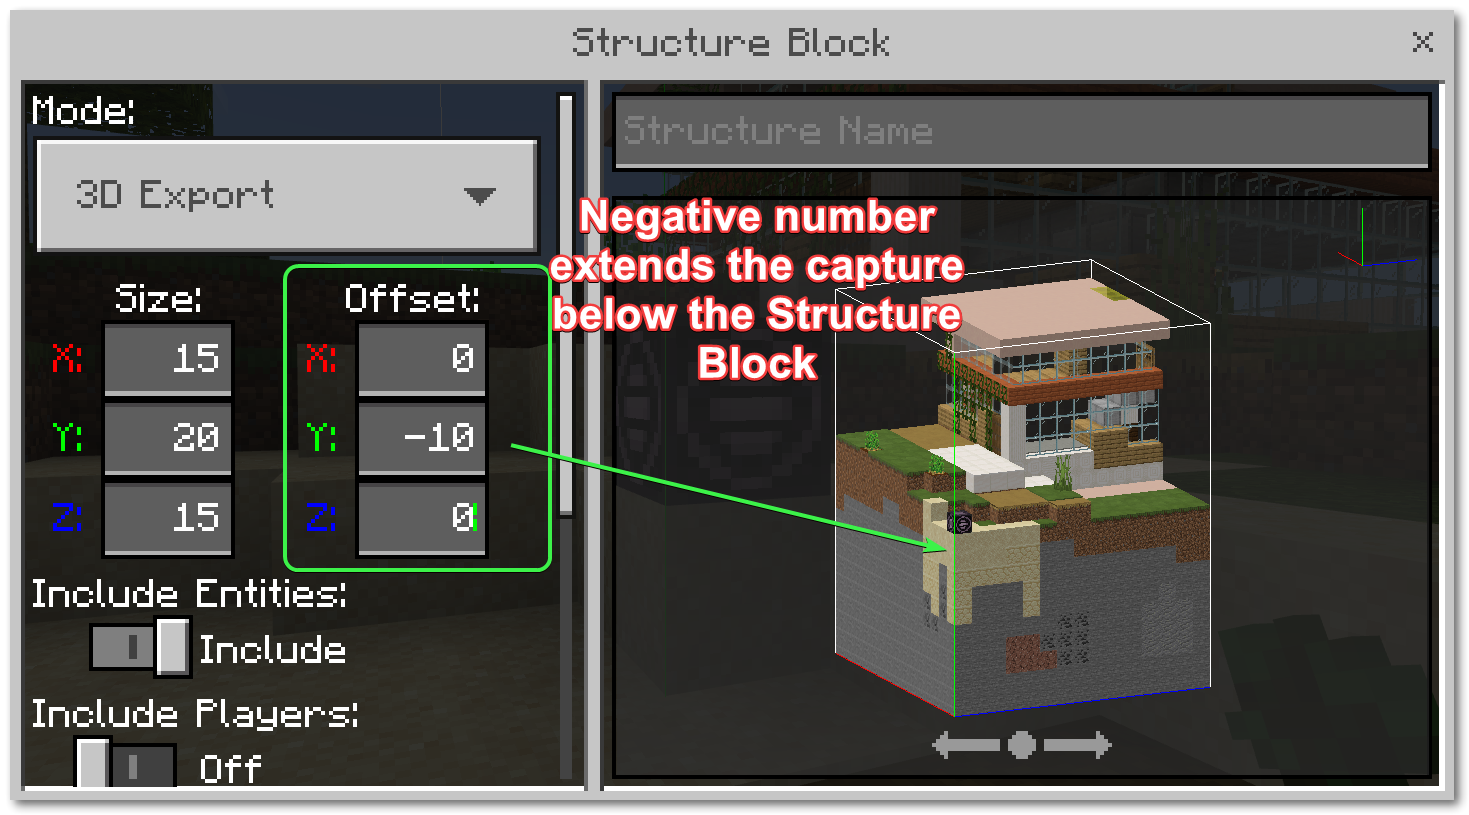
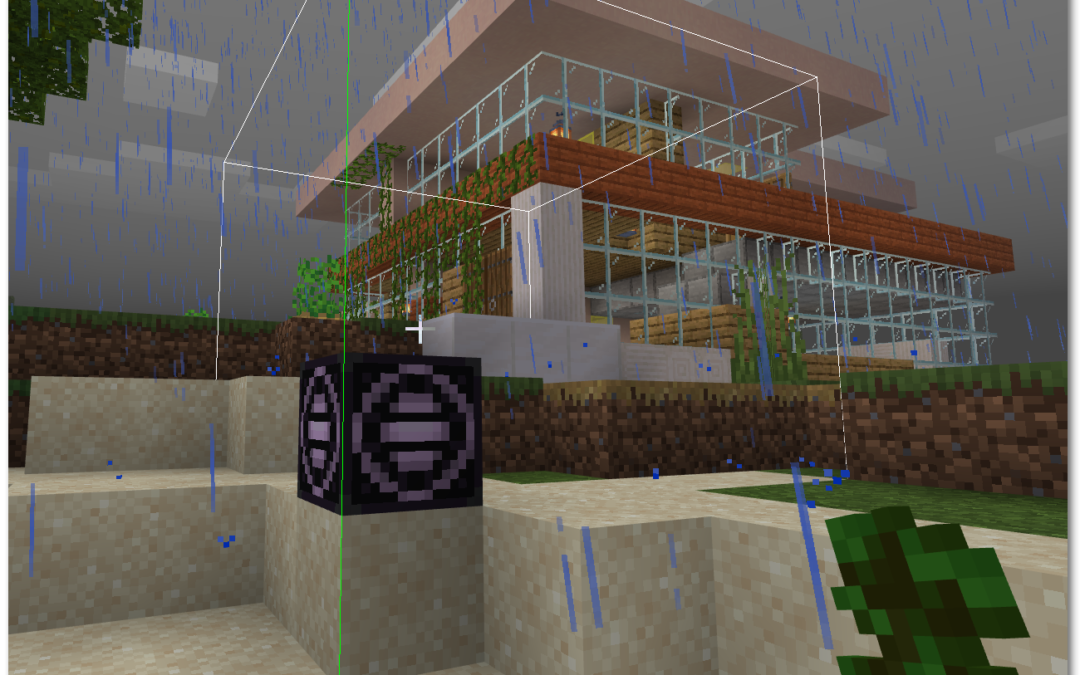
Well, anything students create in Minecraft:EE can be exported by using a special block called a Structure Block. The student can place this block anywhere in their world, then change the dimensions of the area that the Structure Block will capture by modifying X, Y and Z coordinates (length, width and height).
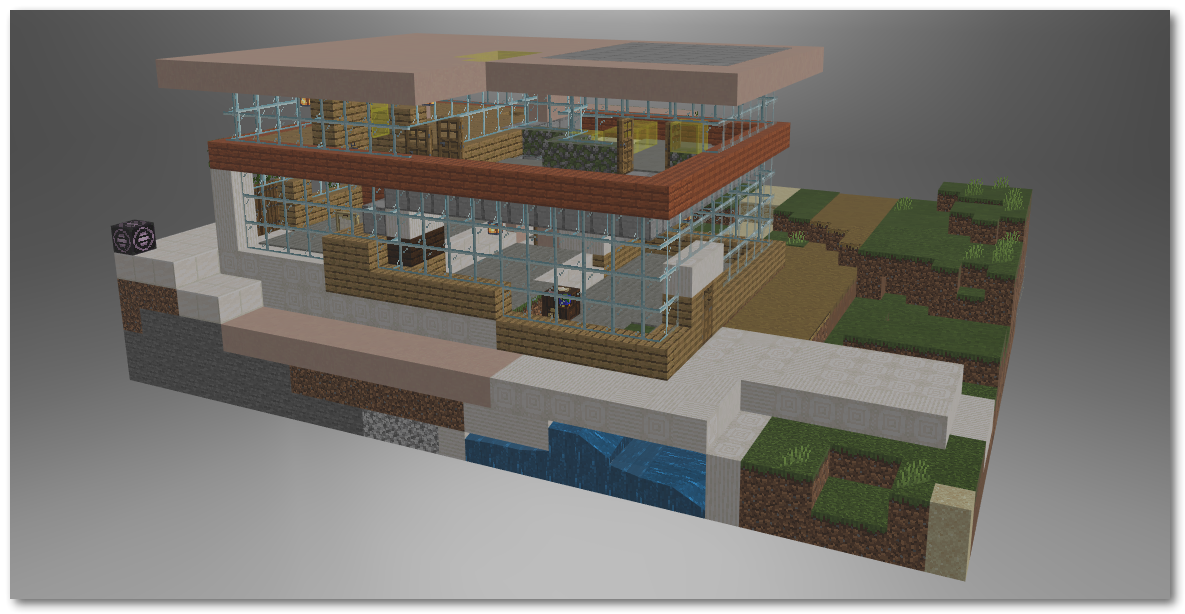
The exported 3D object is saved, and can then be opened with Windows 3D Viewer or 3D Paint apps and even added to PowerPoint slides. Actually – added to any app which can read GLB files. Some webpages enable you to drag and drop the file onto them and they will let you view your exported structure, manoeuvre it and maybe even record the moves (check out – https://gltf-viewer.donmccurdy.com/ and https://sandbox.babylonjs.com/)
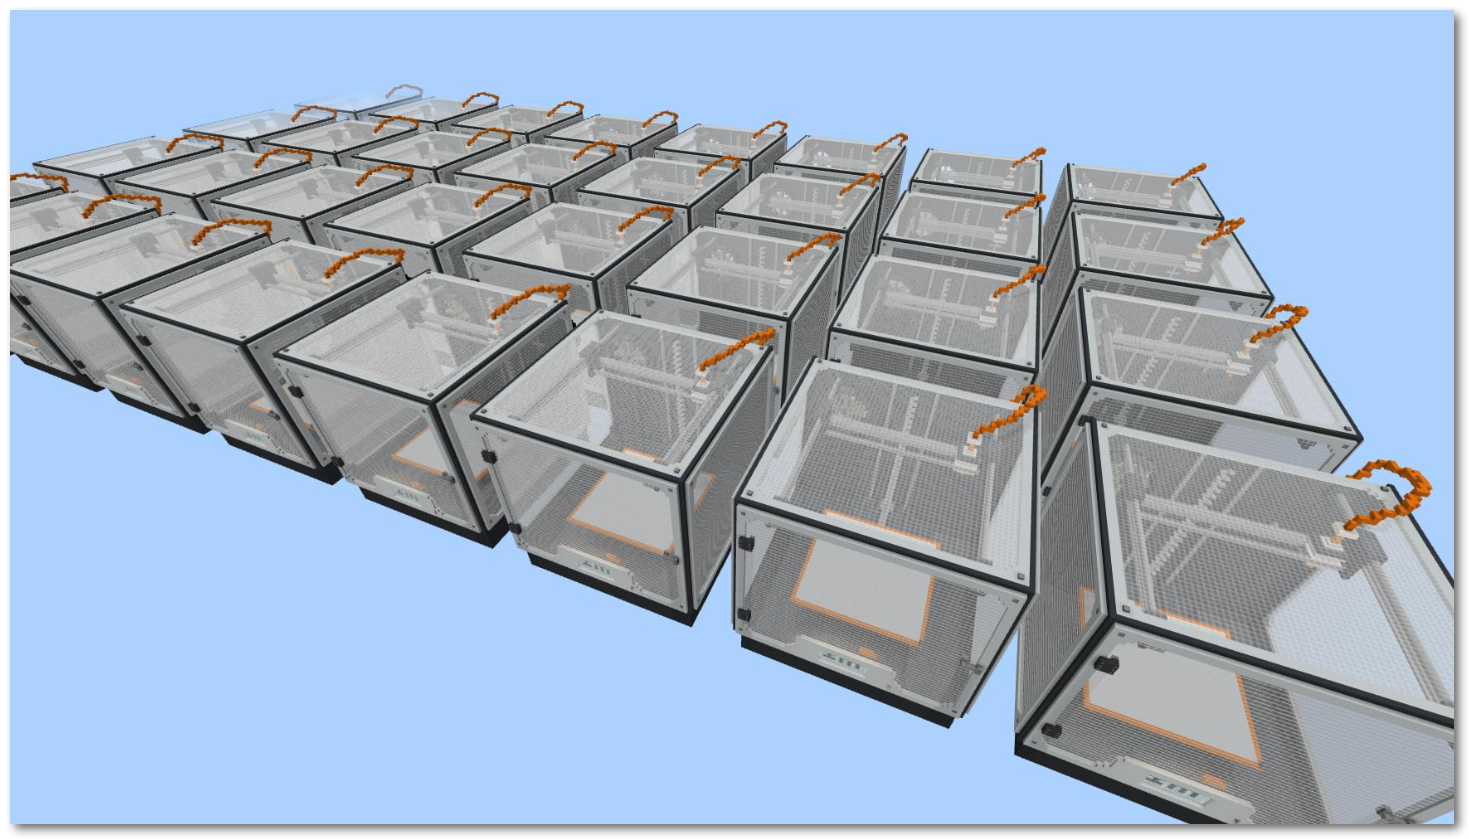
Being able to export objects from Minecraft – especially in 3D – enables students the opportunity to present their learning and work richly with movement and action. Their Minecraft world is dynamic and a 3D export brings that ability into a place or tool where they can fully present their work. Their structure could be rotating in a PowerPoint slide as though its on a turntable, or animated.
If you have wanted to test out the Merge Cube – then this could also be a way to bring AR (Augmented Reality) into your classroom.
So the 3D Export Steps in text:
- Add a Structure Block to your world
- Modify the X, Y, Z fields so it captures the area you want to export
- Export and Save the file
- Open the File in 3D Viewer or Paint 3D or import into PowerPoint as a 3D Model.
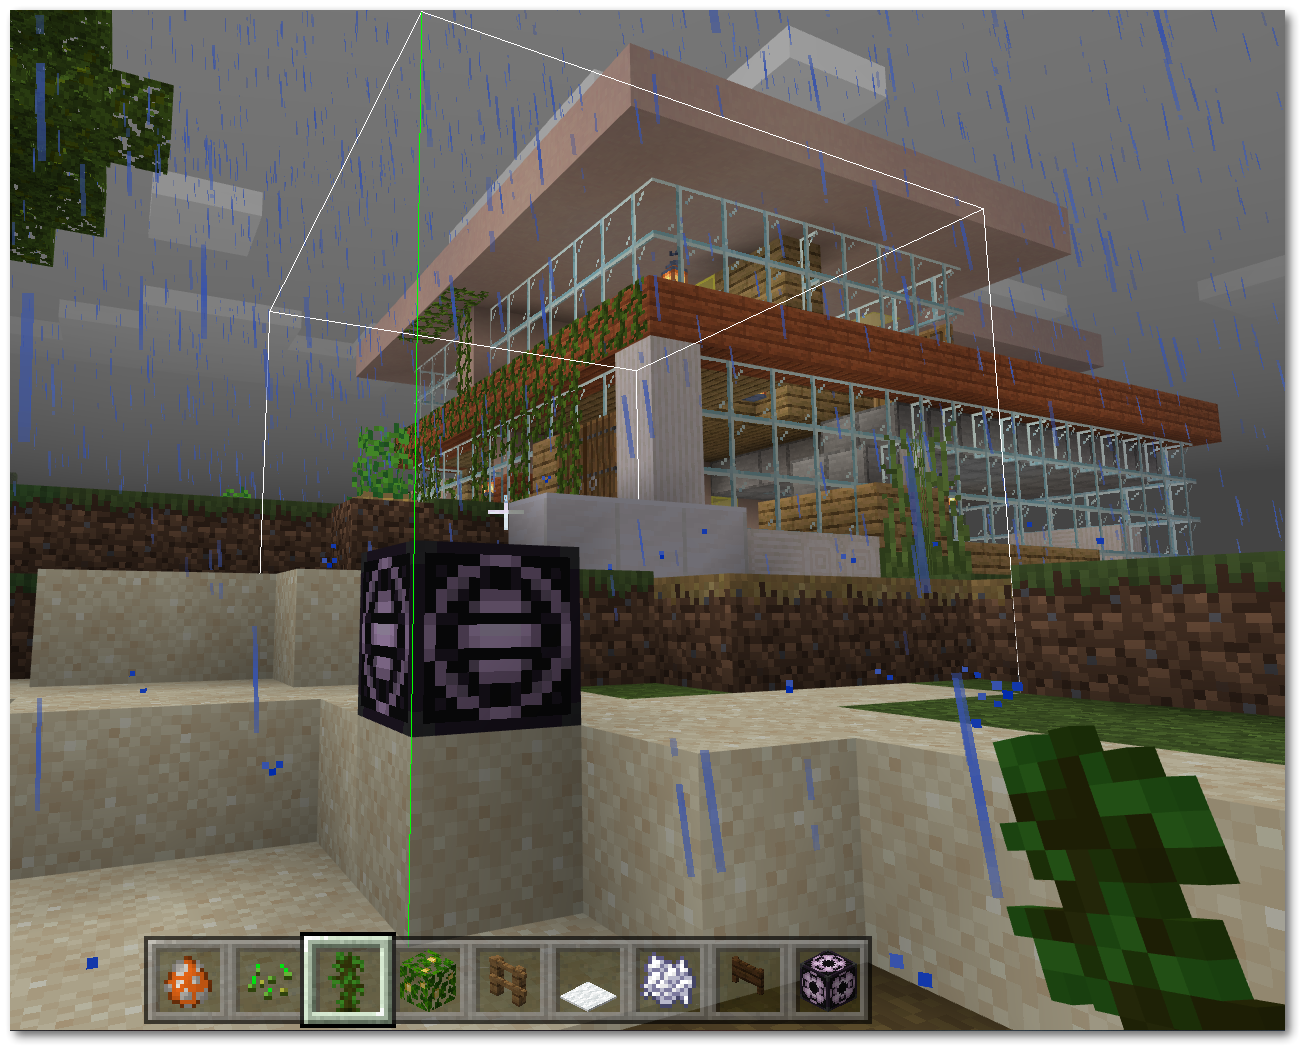
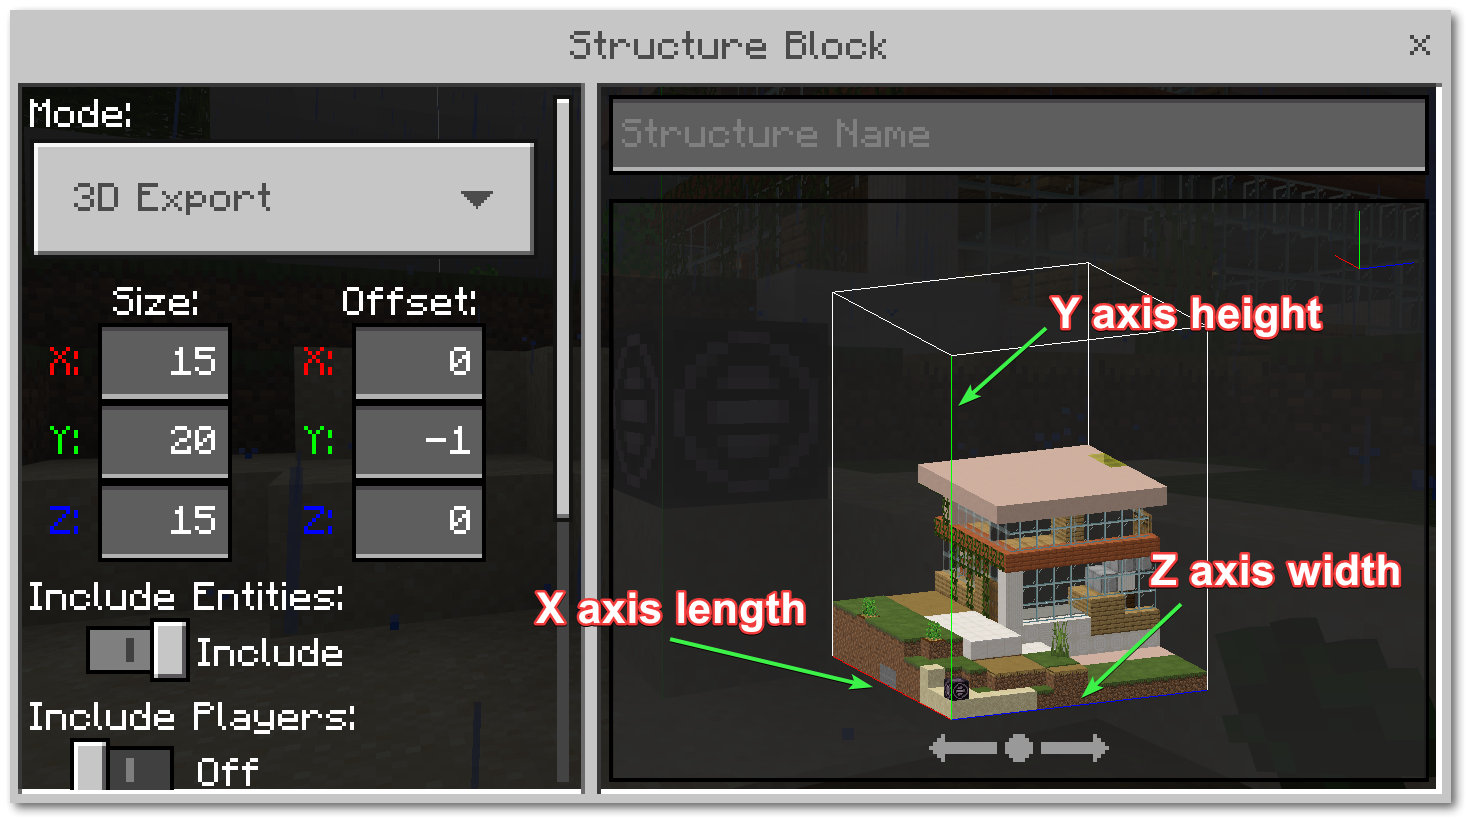
Place the Structure Block in your World then modify the length of the X, Y and Z axis to capture the area for export.
You use the Offset range to stretch the capture area towards the opposite side of the Structure Block. To capture an area below the Structure Block for example you enter a negative number for the Y Axis corresponding to how far below the Structure Block you want to capture.
