Minecraft Movie Skin Pack Minecraft Education This guide shows you how you can customize your appearance in Minecraft: Education Edition to characters from the Minecraft Movie. If you want to do this on your iPad see the guide HERE Minecraft Education Edition requires...
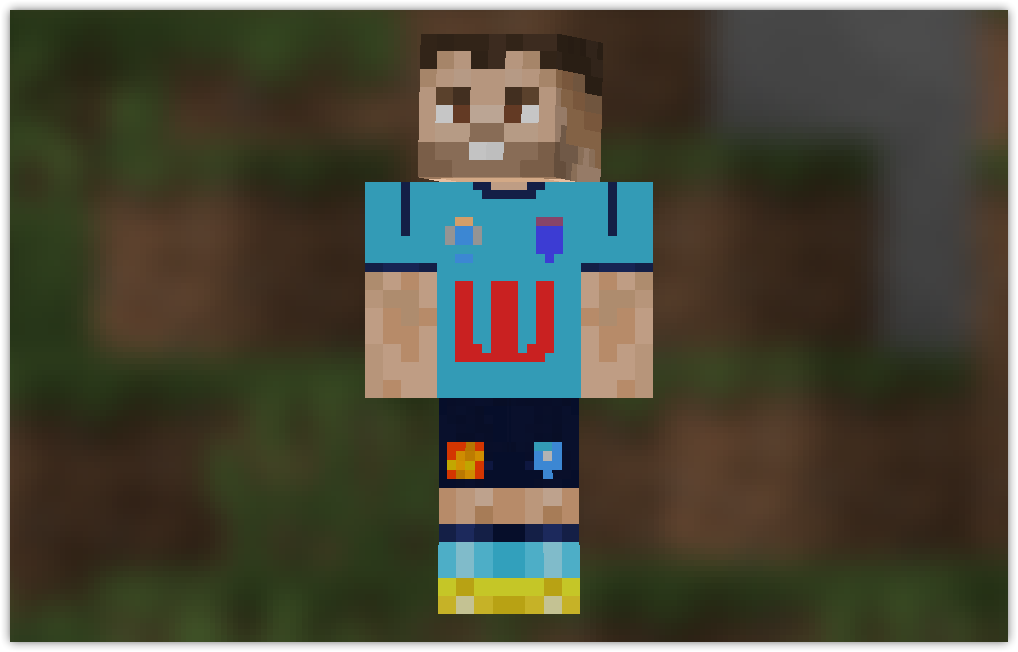
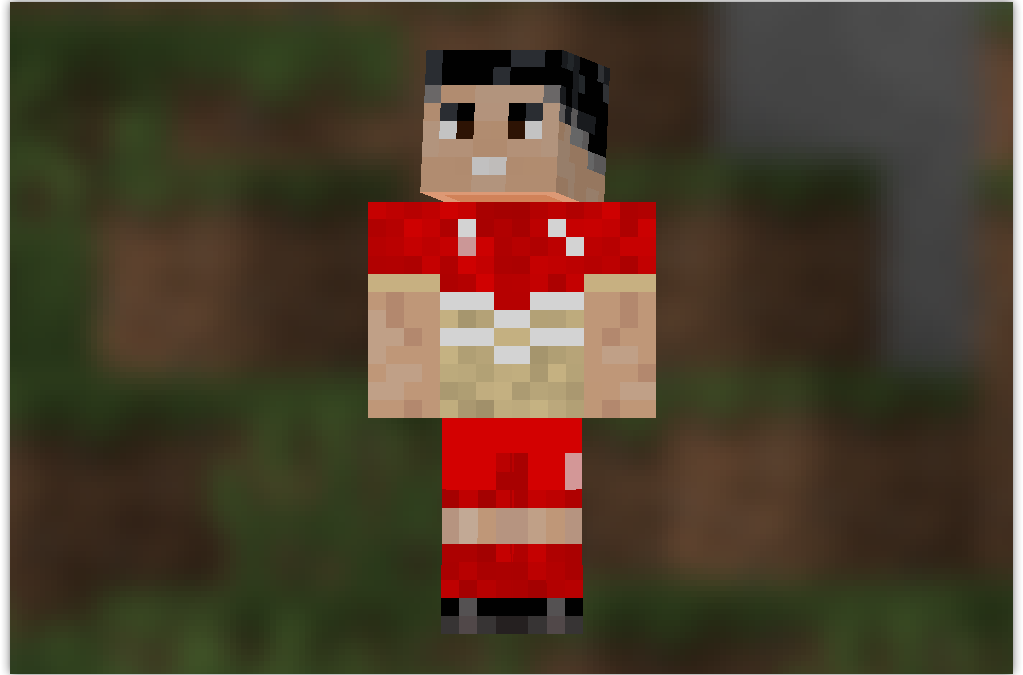
Minecraft Education skin – NRL NSW Blues
NRL NSW Rugby League Skin Pack Minecraft Education
This guide shows you how you can customize your appearance in Minecraft: Education Edition to famous NRL NSW Rugby League.
If you want to do this on your iPad see the guide HERE
Minecraft Education Edition requires you to import a MCPACK file which contains all the files required for your NRL NSW Rugby League Minecraft education skin.
Here are the steps to import the skin to Minecraft Education on your PC computer.
- Download the NRL NSW Rugby League skinpack
- Open Minecraft Education Edition on your PC
- Right click the downloaded skinpack file and choose Open with – Minecraft Education
- The import process will begin and the NRL NSW Blues Rugby League skin will appear in your Minecraft Education Skin Library

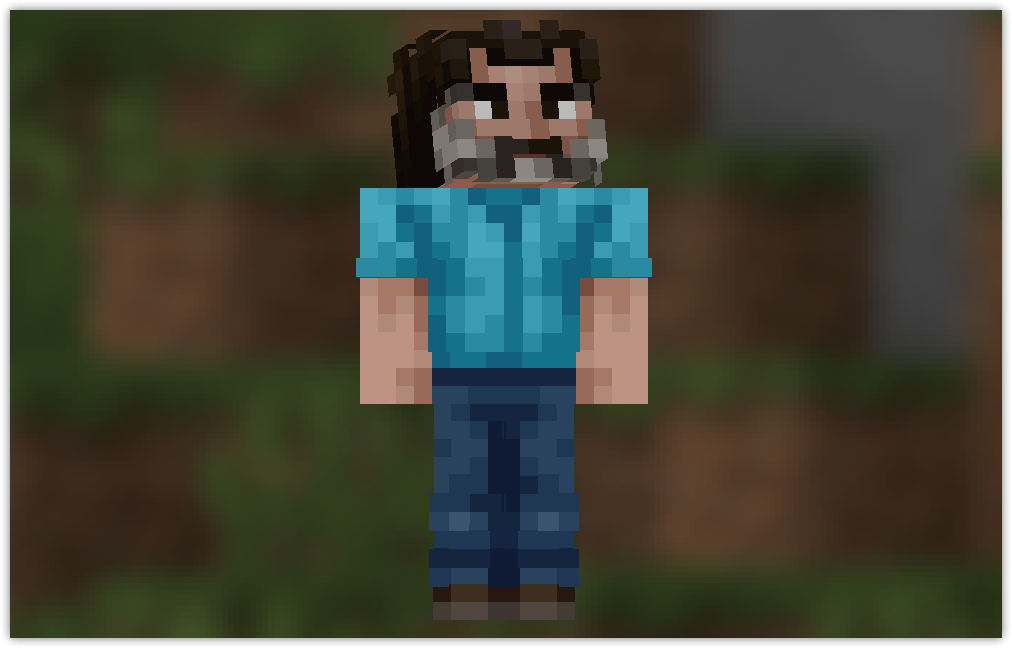
Minecraft Education skins – Minecraft Movie
read more
Minecraft Education skin – NRL NSW Blues
NRL NSW Rugby League Skin Pack Minecraft Education This guide shows you how you can customize your appearance in Minecraft: Education Edition to famous NRL NSW Rugby League. If you want to do this on your iPad see the guide HERE Minecraft Education Edition requires...
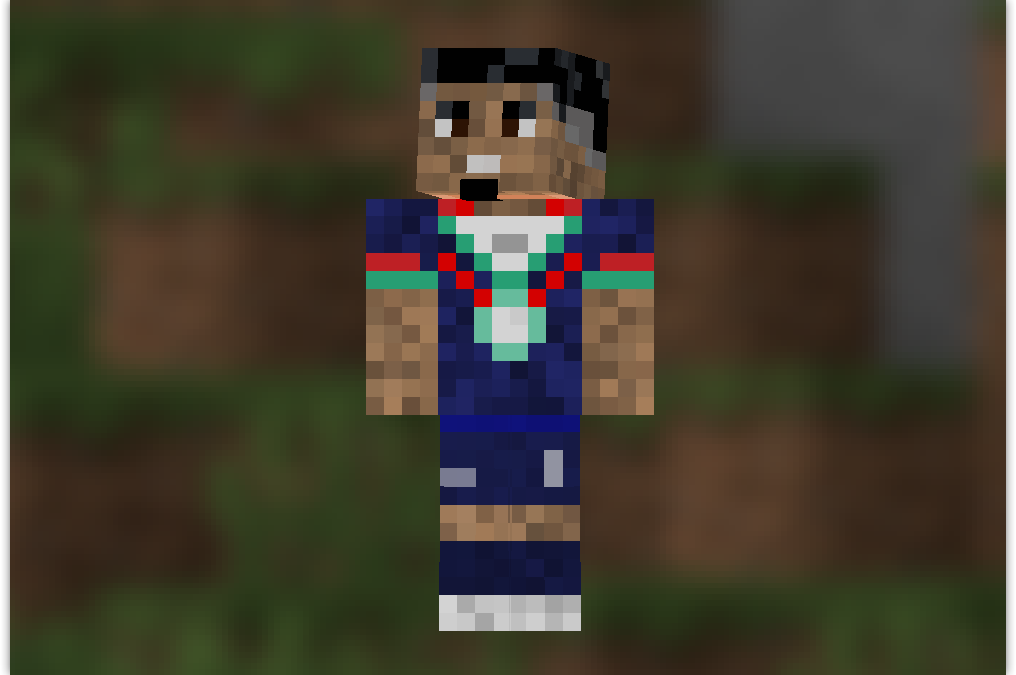
Minecraft Education skin – NRL Warriors – Ali Leiataua
NRL Warriors Rugby League Skin Pack Minecraft Education This guide shows you how you can customize your appearance in Minecraft: Education Edition to famous NRL Warriors Rugby League. If you want to do this on your iPad see the guide HERE Minecraft Education Edition...
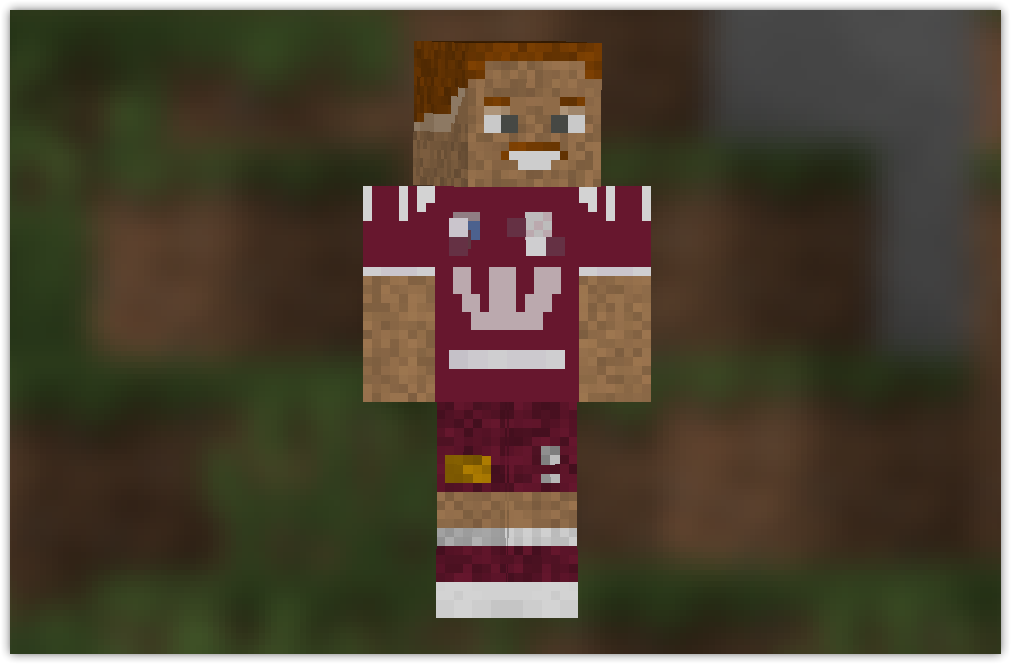
Minecraft Education skin – NRL Queensland
NRL Queensland Rugby League Skin Pack Minecraft Education This guide shows you how you can customize your appearance in Minecraft: Education Edition to famous NRL Queensland Rugby League. If you want to do this on your iPad see the guide HERE Minecraft Education...
Minecraft Education skin – NRL Dolphins
NRL Dolphins Rugby League Skin Pack Minecraft Education This guide shows you how you can customize your appearance in Minecraft: Education Edition to famous NRL Dolphins Rugby League. If you want to do this on your iPad see the guide HERE Minecraft Education Edition...
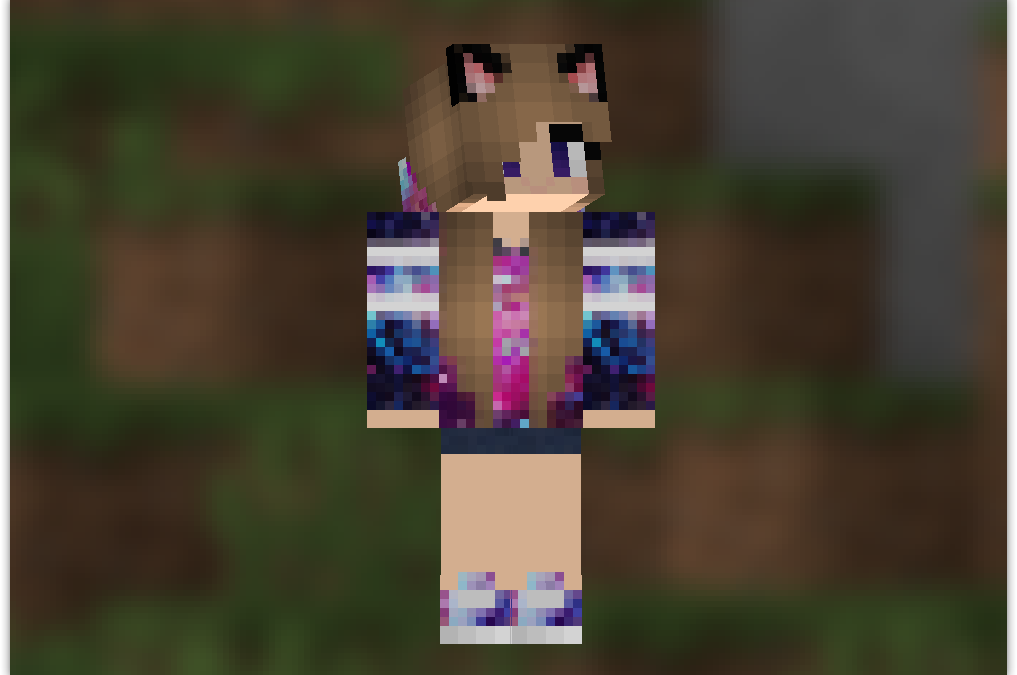
Minecraft Education skin – Galaxy Girl
Galaxy Girl Skin Pack Minecraft Education This guide shows you how you can customize your appearance in Minecraft: Education Edition to famous Galaxy Girl. If you want to do this on your iPad see the guide HERE Minecraft Education Edition requires you to import a...
Minecraft Education skin – F1 Max Verstappen
F1 Max Verstappen Skin Pack Minecraft Education This guide shows you how you can customize your appearance in Minecraft: Education Edition to famous Formula 1 driver Max Verstappen. If you want to do this on your iPad see the guide HERE Minecraft Education Edition...
Minecraft Education skin – F1 George Russell
F1 George Russell Skin Pack Minecraft Education This guide shows you how you can customize your appearance in Minecraft: Education Edition to famous Formula 1 driver George Russell. If you want to do this on your iPad see the guide HERE Minecraft Education Edition...


