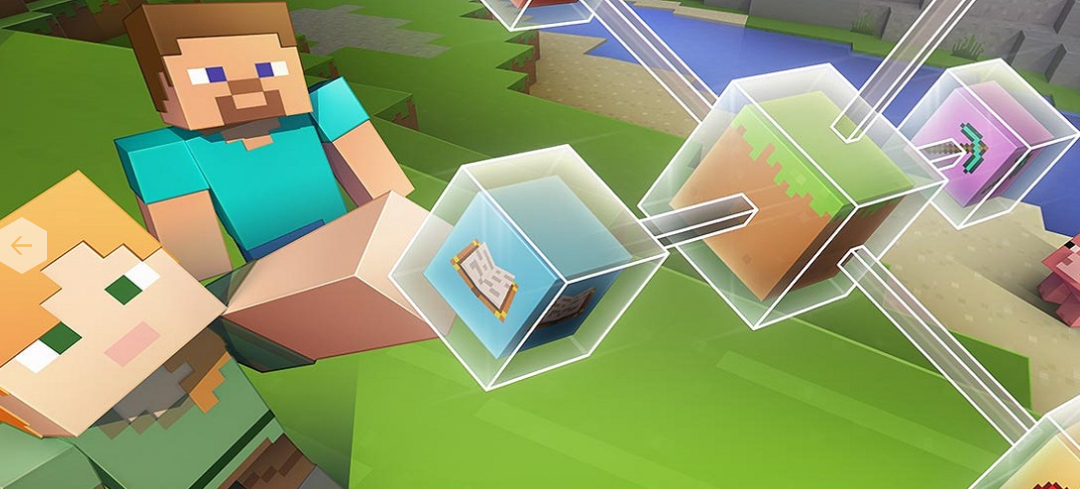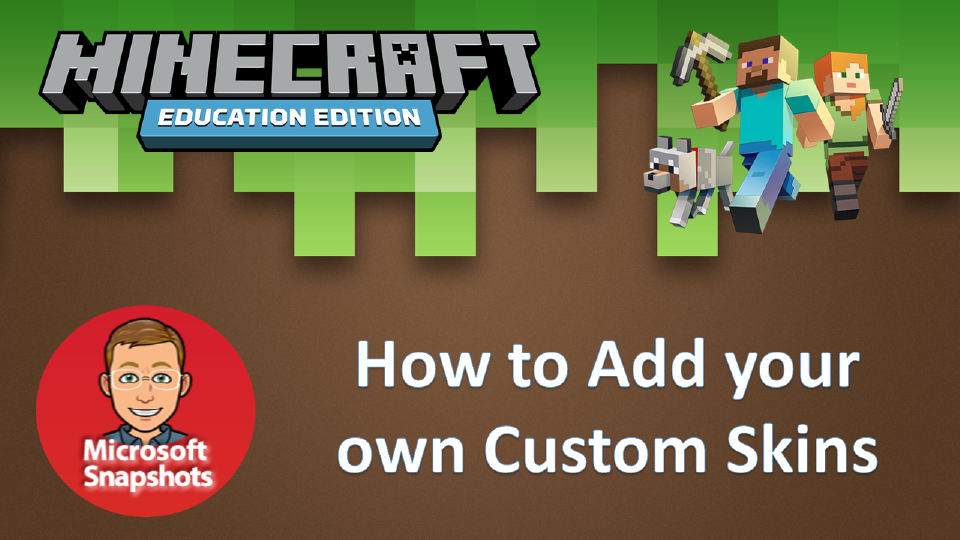
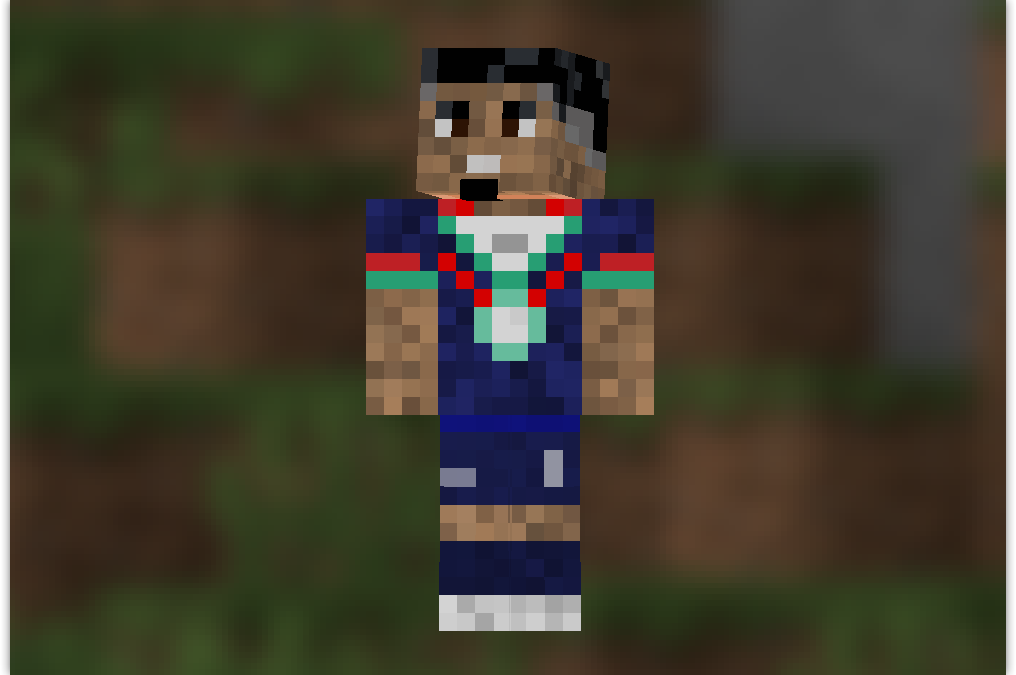
Minecraft Movie Skin Pack Minecraft Education This guide shows you how you can customize your appearance in Minecraft: Education Edition to characters from the Minecraft Movie. If you want to do this on your iPad see the guide HERE Minecraft Education Edition requires...
Minecraft: Education Edition – Skin MCPACK Skinpack Creator
To download a skinpack ready to import into Minecraft Education edition – check what is available in the Minecraft Education skinpacks link on the menu.
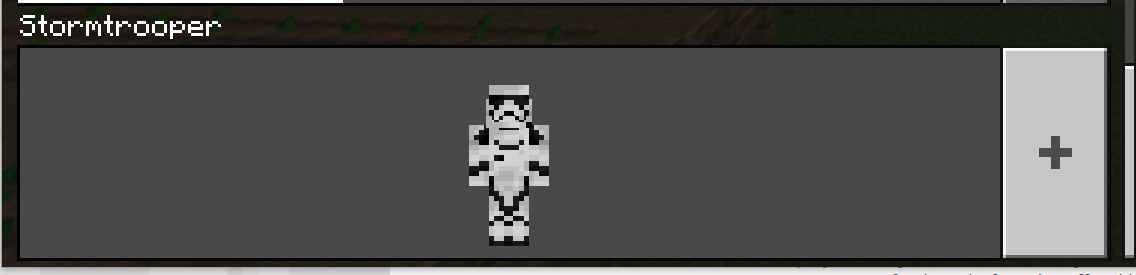
Minecraft Education skins – Minecraft Movie
read more
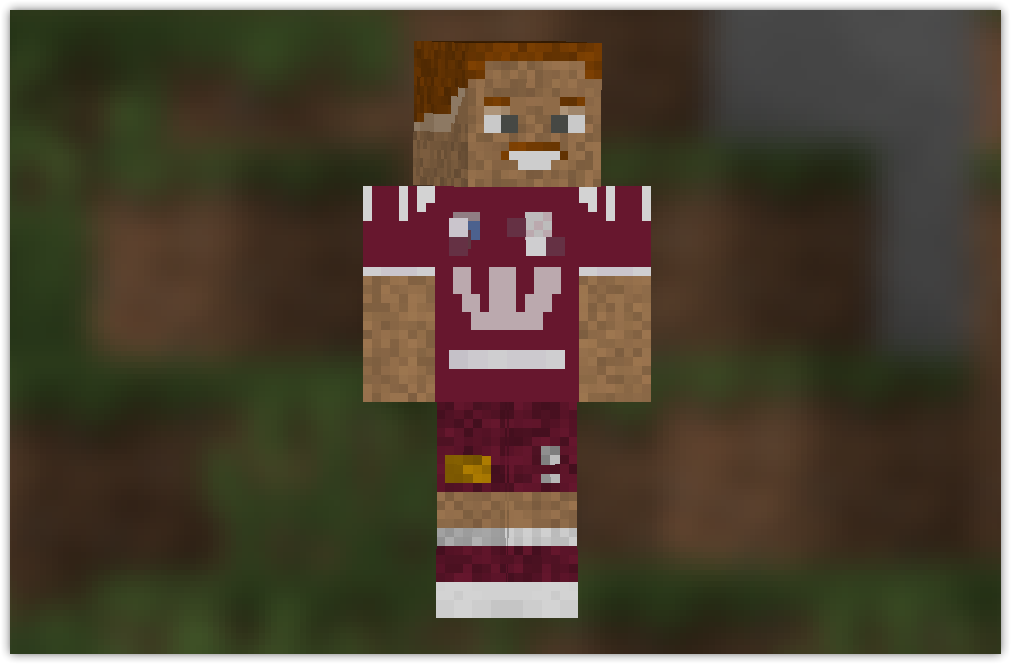
Minecraft Education skin – NRL NSW Blues
NRL NSW Rugby League Skin Pack Minecraft Education This guide shows you how you can customize your appearance in Minecraft: Education Edition to famous NRL NSW Rugby League. If you want to do this on your iPad see the guide HERE Minecraft Education Edition requires...
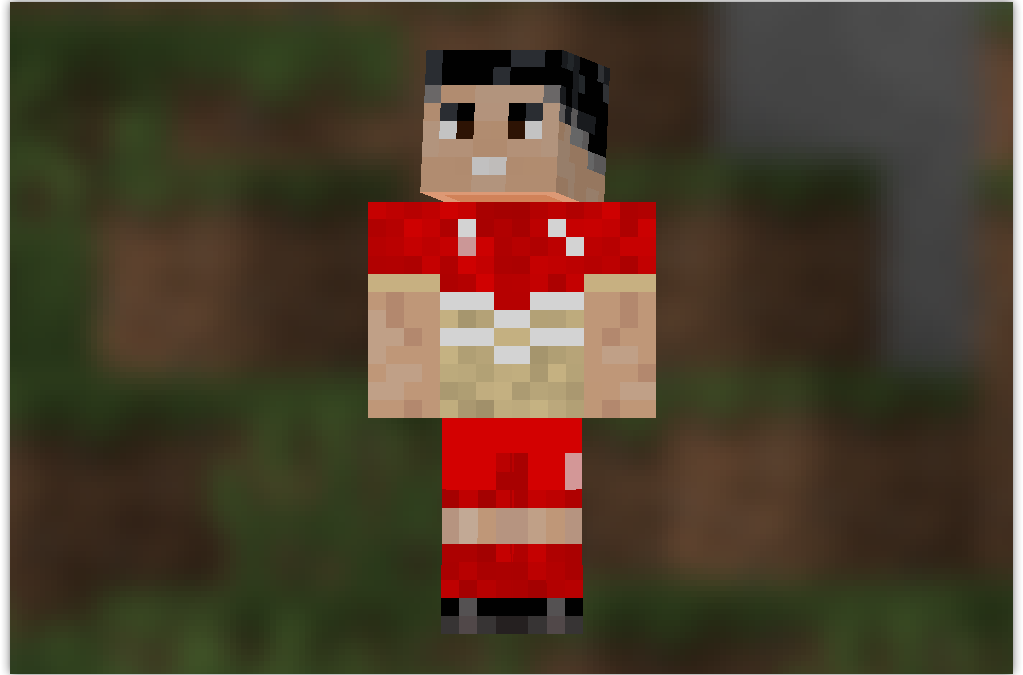
Minecraft Education skin – NRL Warriors – Ali Leiataua
NRL Warriors Rugby League Skin Pack Minecraft Education This guide shows you how you can customize your appearance in Minecraft: Education Edition to famous NRL Warriors Rugby League. If you want to do this on your iPad see the guide HERE Minecraft Education Edition...
Minecraft Education skin – NRL Queensland
NRL Queensland Rugby League Skin Pack Minecraft Education This guide shows you how you can customize your appearance in Minecraft: Education Edition to famous NRL Queensland Rugby League. If you want to do this on your iPad see the guide HERE Minecraft Education...
Minecraft Education skin – NRL Dolphins
NRL Dolphins Rugby League Skin Pack Minecraft Education This guide shows you how you can customize your appearance in Minecraft: Education Edition to famous NRL Dolphins Rugby League. If you want to do this on your iPad see the guide HERE Minecraft Education Edition...
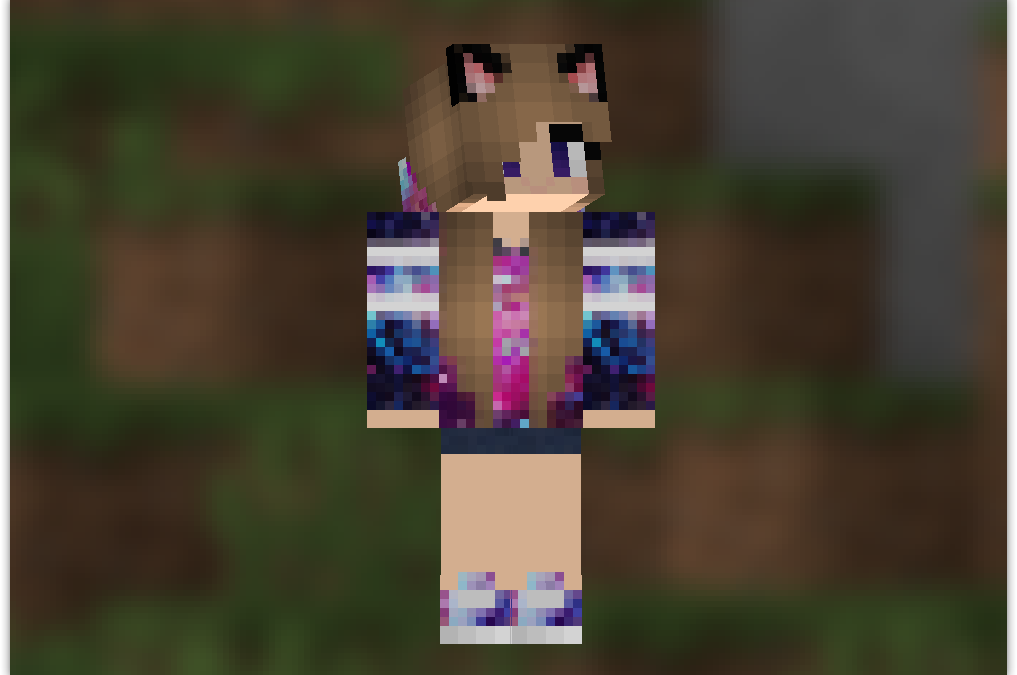
Minecraft Education skin – Galaxy Girl
Galaxy Girl Skin Pack Minecraft Education This guide shows you how you can customize your appearance in Minecraft: Education Edition to famous Galaxy Girl. If you want to do this on your iPad see the guide HERE Minecraft Education Edition requires you to import a...