How to add a Class Bitmoji to Microsoft Class Teams that your Students Can See
Class Bitmojis have become super popular since teachers are providing a more blended learning experience for their students. A Class Bitmoji is simply just a graphical image, usually a PowerPoint or a Google Slide which contains a number of images hyperlinked to the resources that the teacher wants to make available to their students.
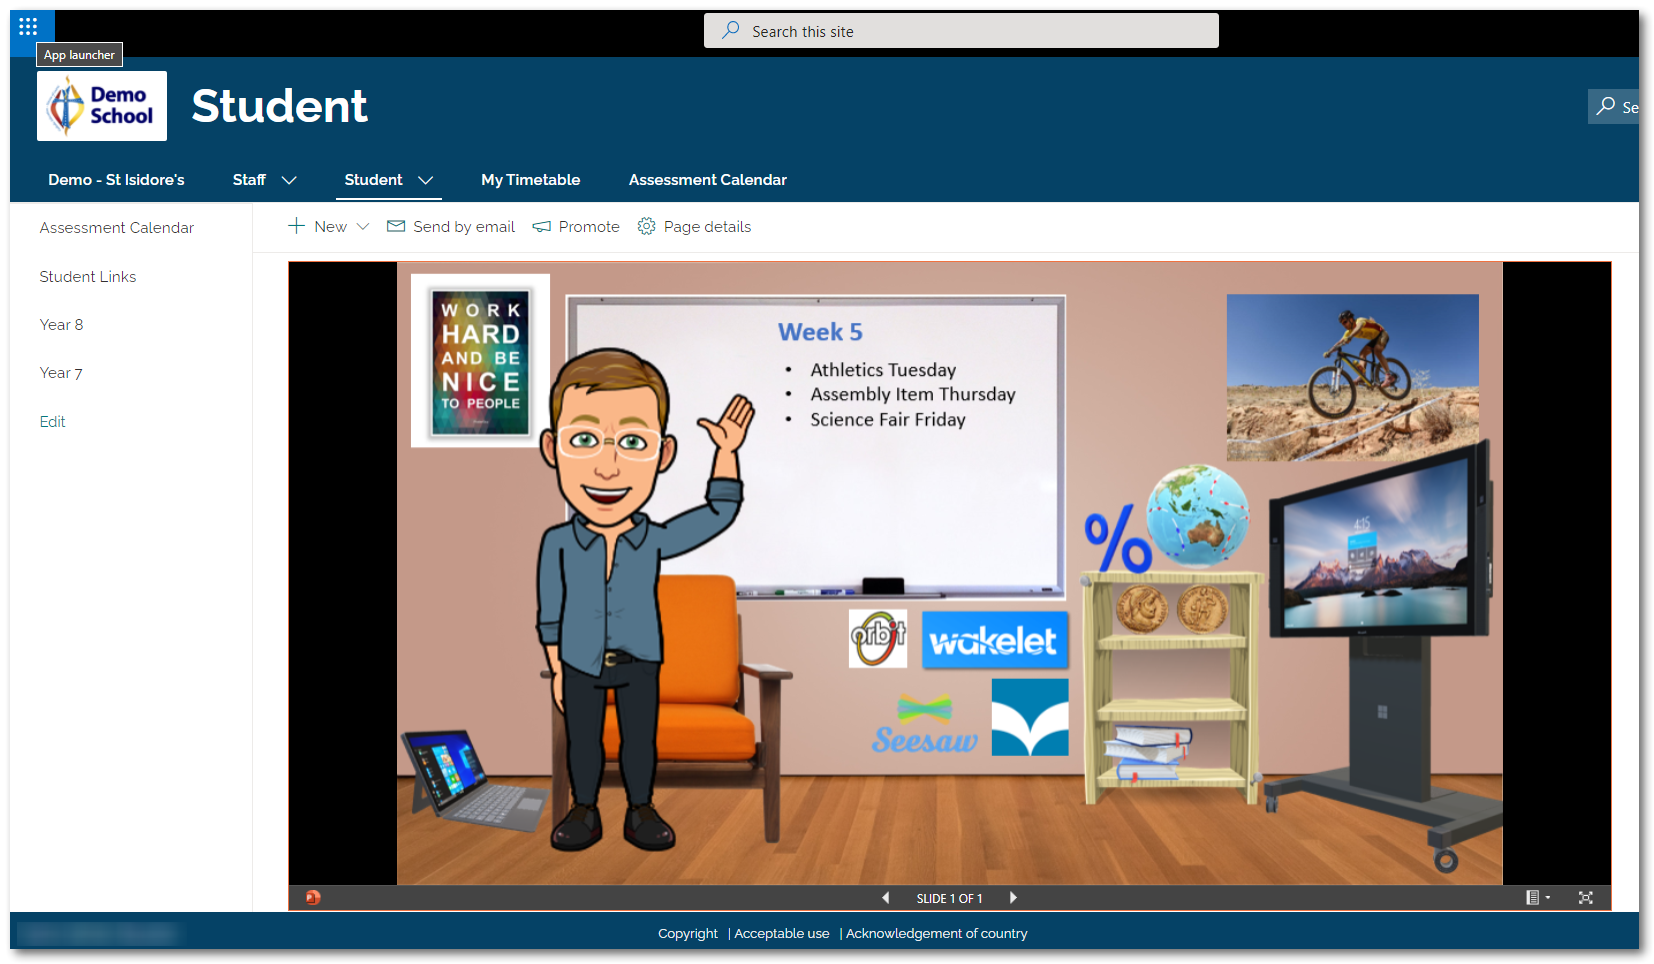
Examples of Class Bitmoji below.
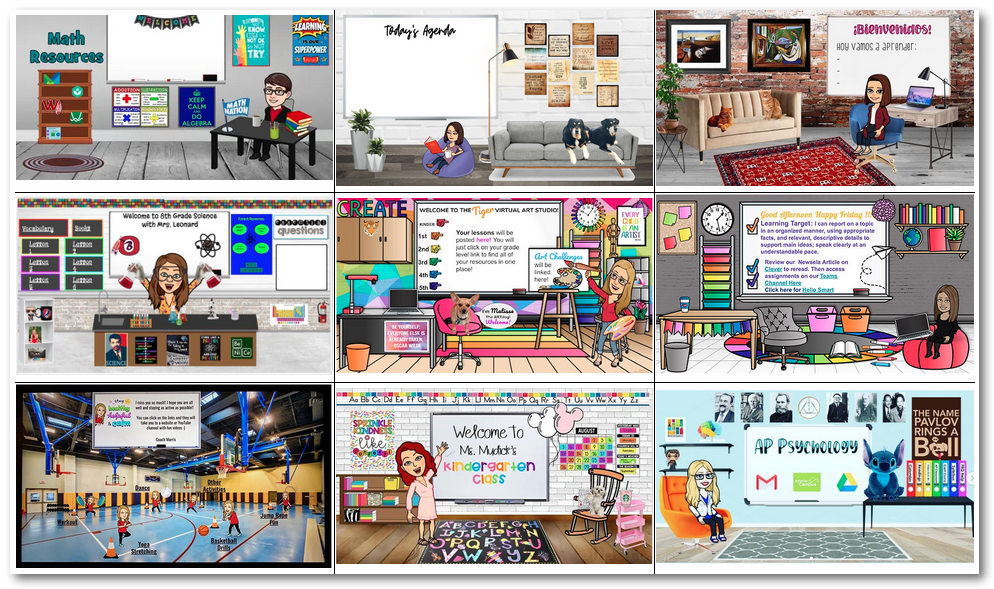
The advantage of creating a Class Bitmoji is that it provides a more graphical and fun space for students to access classwork and resources. Especially for junior students who can respond to images and icons a lot quicker than lists of text links.
What is a Bitmoji?
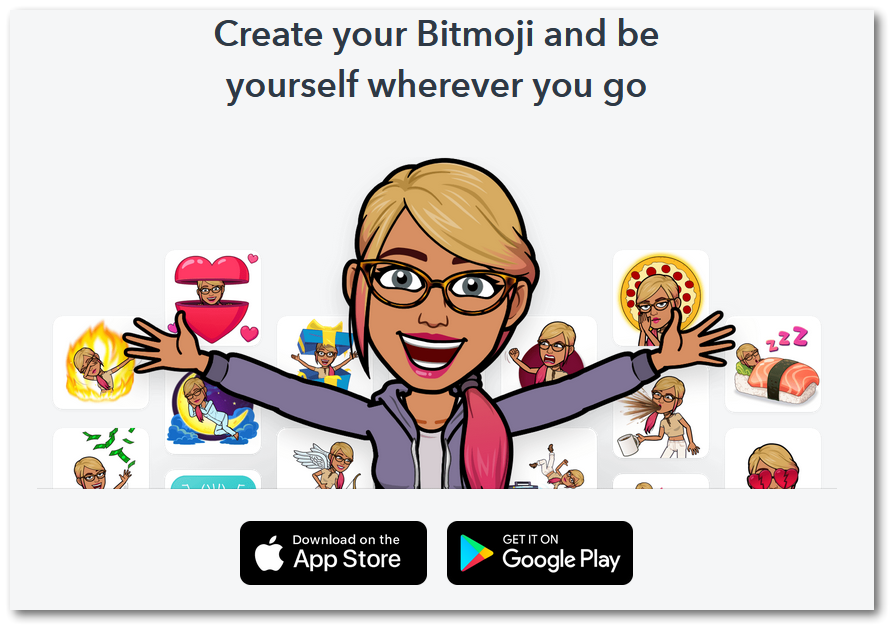
Bitmoji is an app available for free on mobile devices. Download to your phone or tablet and then create a Bitmoji character using facial features, clothing, and bodies – to look like you. Once created you can choose different poses using that created Bitmoji character to represent yourself. You can copy and post those images into your phones messaging apps. Install the web browser plugin to Edge or Chrome and you can copy those images into any of your computer apps like PowerPoint, Word etc.
What is a Class Bitmoji?
A Class Bitmoji is simply a scene you create with hyperlinked objects and then you add a Bitmoji of yourself as the teacher. There are many different tools and methods available to create an image containing hyperlinks but PowerPoint is probably the easiest to use, has the most features and is easy to update when stored in OneDrive. So we will use PowerPoint to create our Class Bitmoji.
Step One – Open PowerPoint and Start Creating your Class Bitmoji
- Open PowerPoint and add a Blank Slide, then save the PowerPoint into your personal OneDrive
- Now click Insert > Pictures and choose Online Pictures
- Do a search for Room Background, and choose an image and click Insert
- Resize the image to fit your PowerPoint Slide
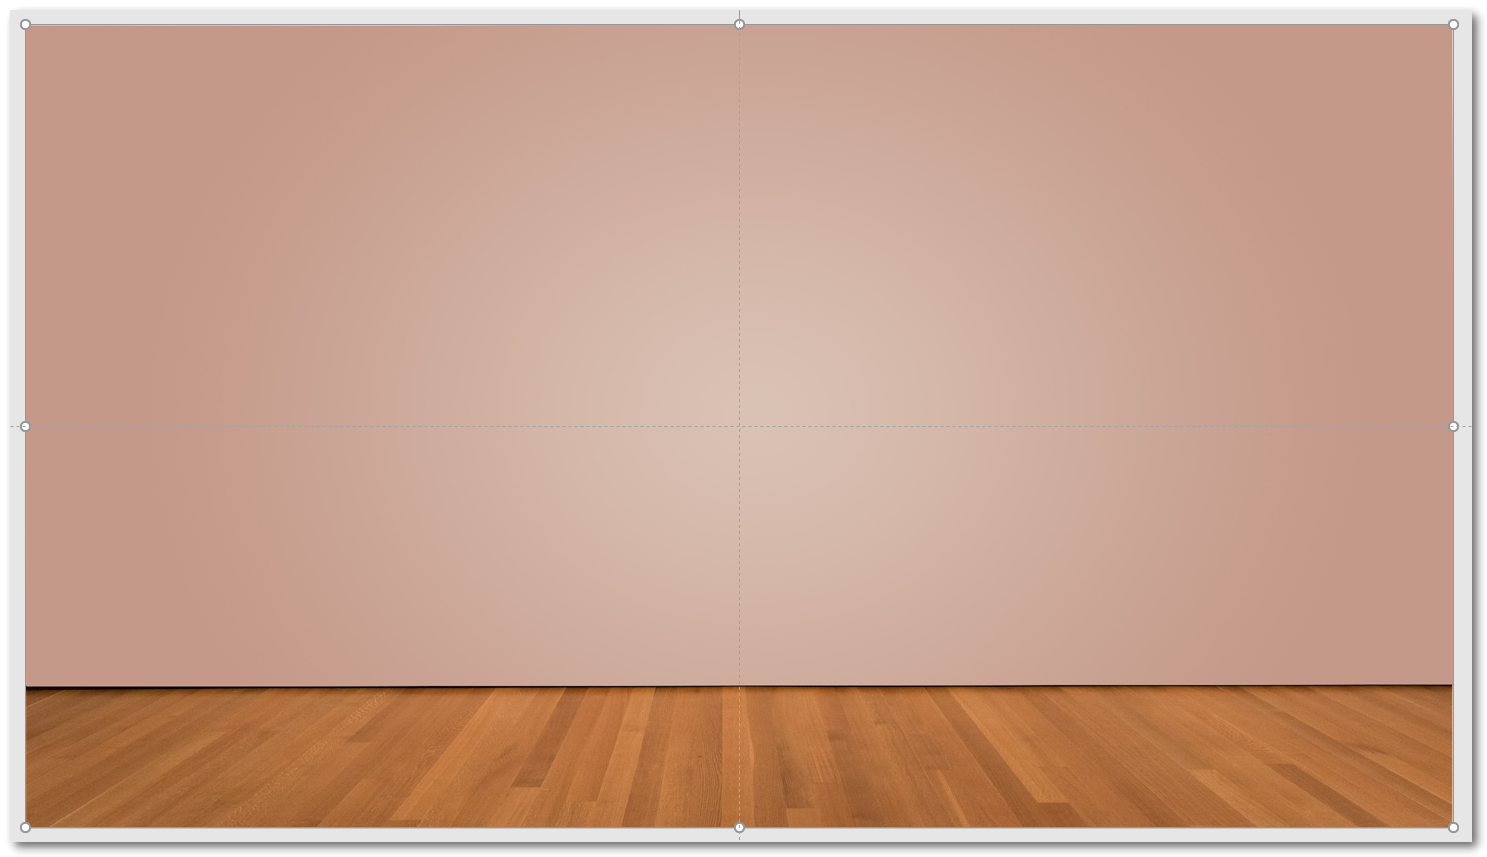
- Now your background is in, start to add other images representing your classroom
- Some ways PowerPoint makes this easy
- Insert > Pictures – choose from Online, Stock Images (images, icons, people, stickers) or images on your computer
- Insert 3D Models – choose from your computer or from PowerPoint’s collection of resizeable, rotatable 3D Images (some are even animated)
- Insert WordArt
- Insert SmartArt and Charts
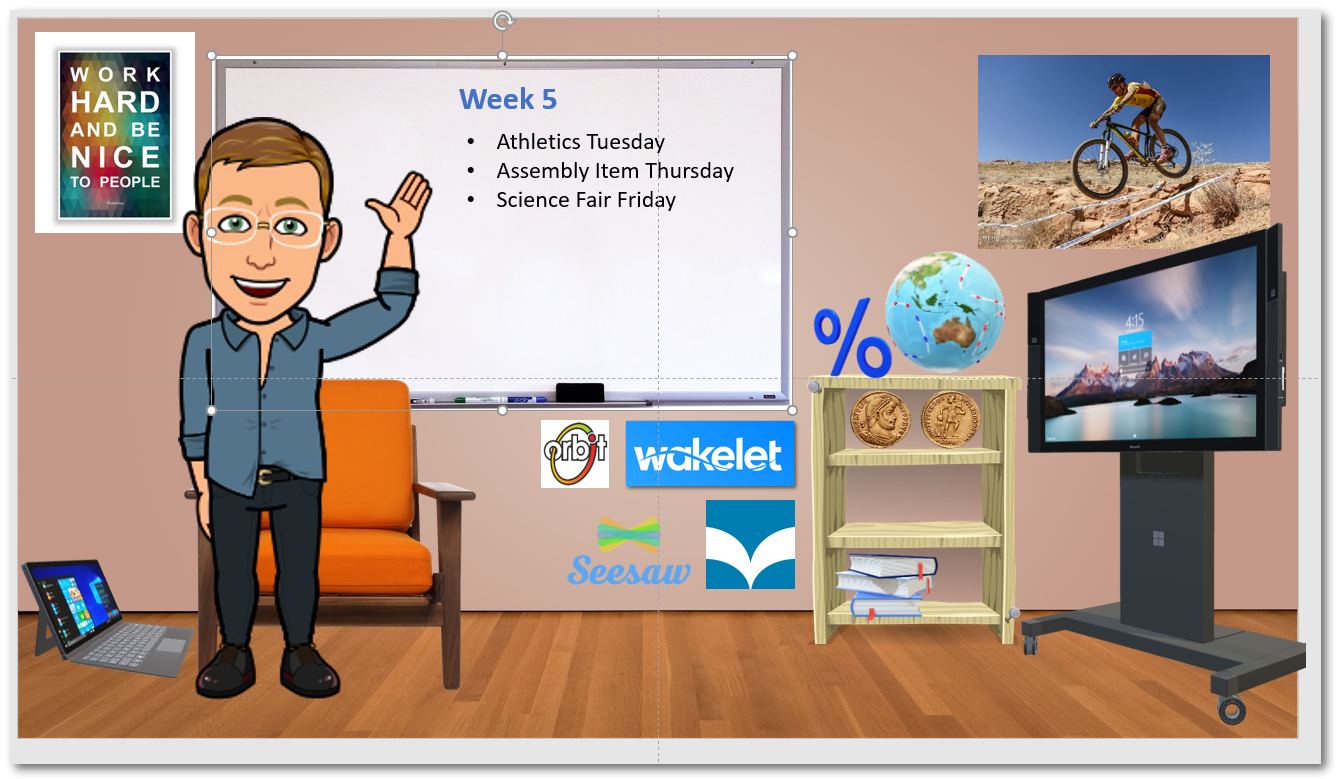
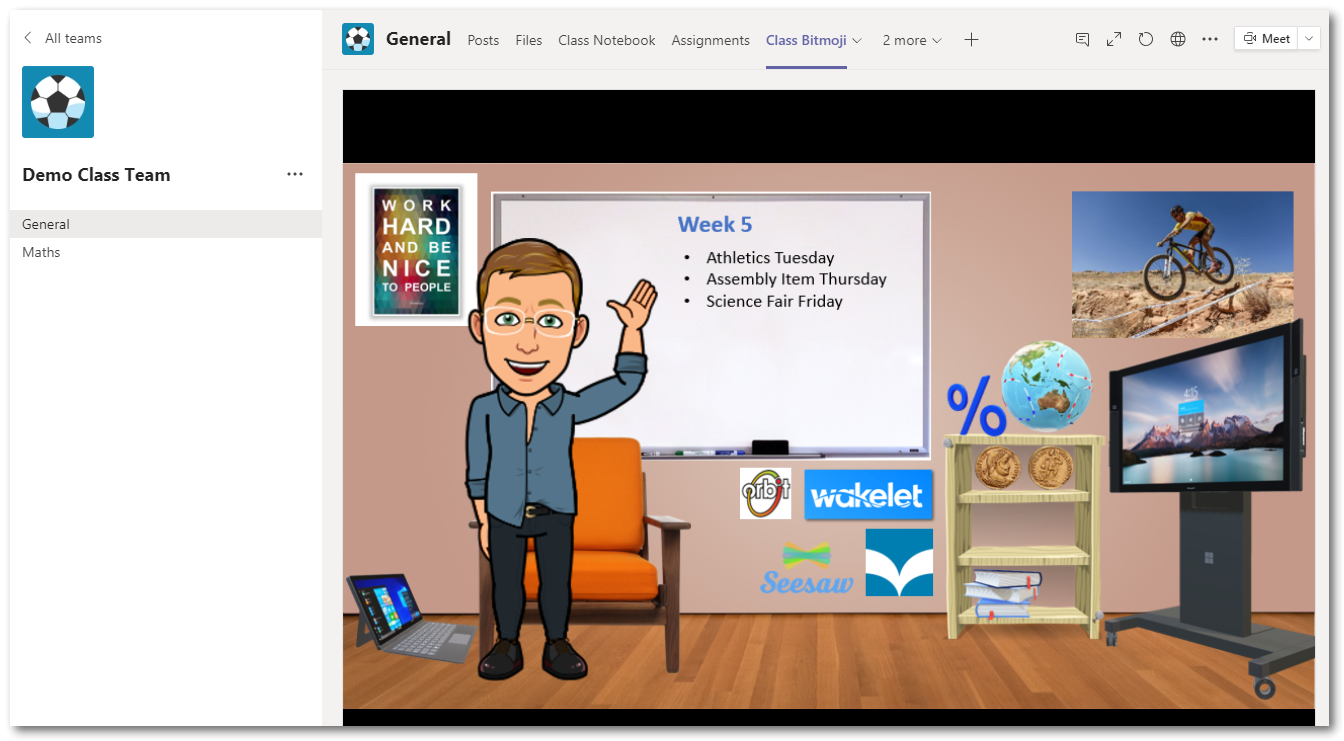
- I have gone ahead and added – a Whiteboard, chair, poster quote, Roman coins and bookshelf using Online Pictures search (use the “transparent filter” when searching)
- I added some stock 3D Models – animated globe, books, TV, % symbol, laptop
- I added some logos for digital tools our students use – Wakelet, SeeSaw, Wheelers e-books and Orbit library catalogue
- I added a Text box to the whiteboard with major events this week
- I added a Bitmoji I made of myself and chose the waving pose
Step Two – Add Hyperlinks to your Class Bitmoji
Now you have your Class Bitmoji PowerPoint slide images where you want them it is time to add hyperlinks to each object you want to be “clickable”.
For each of the Objects you want to be a Hyperlink:
- In your web browser open the webpage you want students to get to
- copy the URL (web address) from the Address Bar (eg. https://www.wakelet.com)
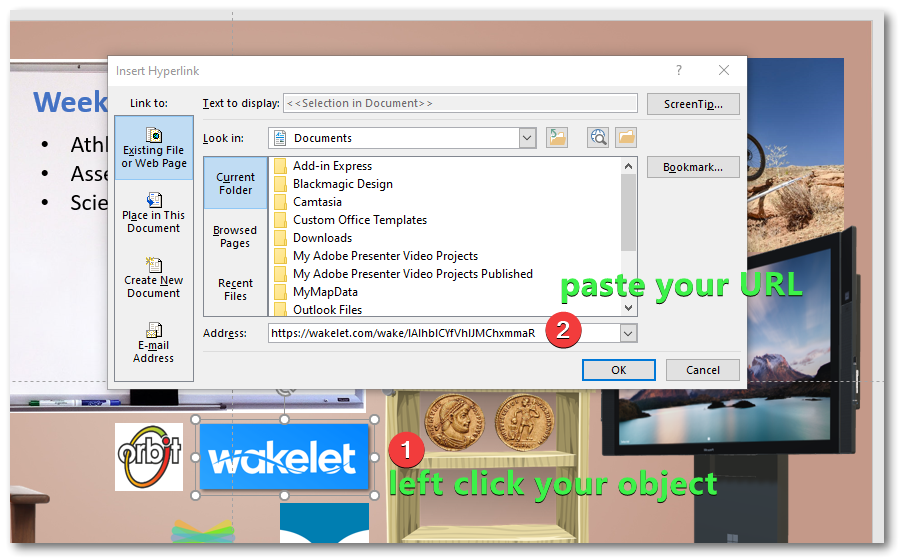
- In PowerPoint left click your object (make sure its the only object you select) and on your keyboard press the CTRL and K keys (this will open a pop up box ready for you to paste the URL address in)
- paste your URL and click OK
- repeat for all objects you want hyperlinked
Step Three – Share your PowerPoint
Now from OneDrive we will create the link we need to share our Class Bitmoji inside the Microsoft Team. This can be quite tricky so bear with me. The key is getting the correct URL for adding to Microsoft Teams. Microsoft generates different URLs depending on where and how you share the PowerPoint file.
- In OneDrive set the Sharing on the PowerPoint file so your class can Read it from your personal OneDrive.
- Right click the PowerPoint file and select Sharing – then change the sharing options to Anyone with the Link Can View (or those in your Organisation can view) click Apply
- Right click the PowerPoint file and select Sharing – then change the sharing options to Anyone with the Link Can View (or those in your Organisation can view) click Apply
- Now right click on your Class Bitmoji PowerPoint file and choose Open In PowerPoint Online
- your Class Bitmoji PowerPoint will open in your default web browser
- edit the URL in the browser Address Bar, deleting everything after action=
- and replace the deleted text with embedview, then click Enter
- so now my URL looks like this

- it is this URL which we need to copy and paste into Microsoft Teams
- from the browser tab – copy the full URL then open Microsoft Teams, to your Class Team
How to add Class Bitmoji to a Microsoft Class Team
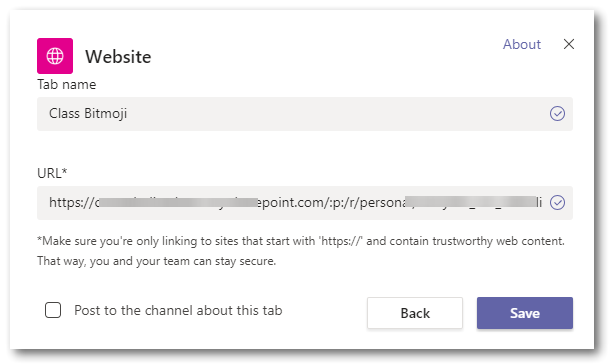
- In your Class Team, add a new Tab and choose Website
- Change the name of the Tab to whatever you want Students to see
- Paste your modified link that you copied from Notepad
Now when students open your Class Team and click on the Class Bitmoji tab, they will be presented with your hyperlinked class image!
How to make changes to your Class Bitmoji
This is the beauty of saving the Class Bitmoji PowerPoint in your OneDrive. You can simply open it from OneDrive and make your changes. The Class Bitmoji in your Class Team will automatically reflect those changes as you save them. Just open the Class Bitmoji PowerPoint and make whatever changes you need. Create different Class Bitmoji depending on the time of the Year or what the learning focus might be in your class. Have some fun.
Also embed your Class Bitmoji in SharePoint
If your school is also using SharePoint you can embed your Class Bitmoji there. On your Class Page, add the Embed webpart, paste in your modified URL (the one you added embedview to earlier) and save. Again – any changes you make will automatically update here when you edit your Class Bitmoji from OneDrive.
