Minecraft: Education Edition – How to make a Star Wars Lightsaber

Minecraft: Education Edition – How to make a Star Wars Lightsaber

Who doesn’t want to play Minecraft: Education Edition without a lightsaber?!!

Are you using Minecraft’s Compound Creator?

There are a bunch of YouTube videos showing how to create a lightsaber in Minecraft: Education Edition, but I’ve found them too hard to follow and figured you would as well.

What we will go through is using Minecraft: Education Edition’s Compound Creator to craft a glow stick – which will have you looking like a genuine Jedi Knight (or Sith Lord!) with a lightsaber.

Here’s how to Create a Lightsaber in Minecraft: Education Edition

Step 1 -Add required Elements to your Inventory

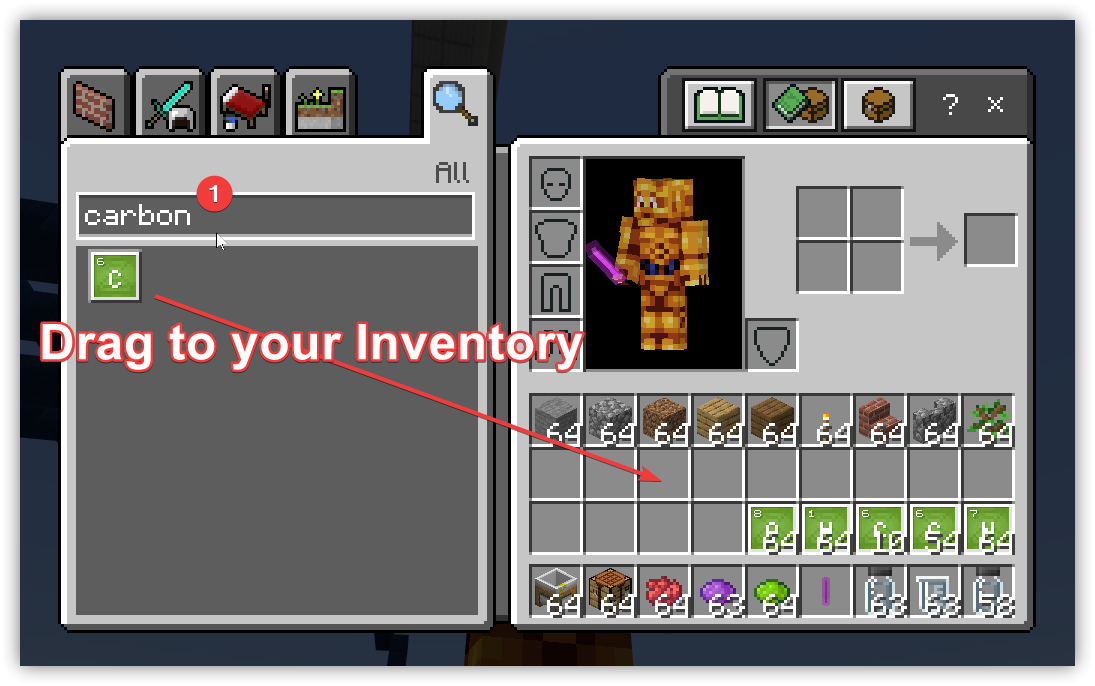
Start by opening your Inventory (press the E key) and search for each of the following elements and add them to your Inventory by dragging and dropping them to a free square.

    • Carbon
    • Dye
    • Nitrogen
    • Hydrogen


minecraft education edition compound recipe lightsaber

Step 2 -Add a Compound Creator Block to your Inventory

Add to your Inventory the Compound Creator block. Search for this then drag this to an empty box in your inventory.
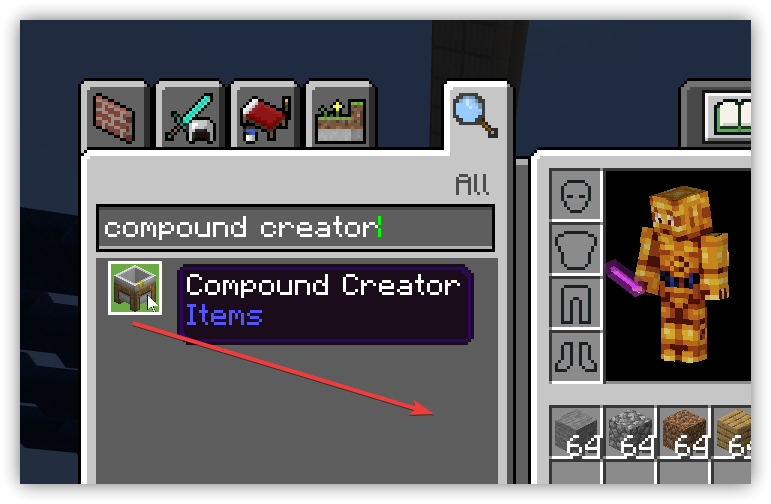
minecraft education edition compound recipe lightsaber

Step 3 – Place the Compound Creator block in your game

Place (right click) the Compound Creator block in your game and use the elements in your inventory to create the following three compounds by placing the required elements on the Compound Creator (drag then right click to add the required number of elements):

Polyethylene,     Hydrogen Peroxide,     Luminol

    1. Polyethylene – place 10 Carbon and 20 Hydrogen.  Drag the Polyethylene to your Inventory
    2. Hydrogen Peroxide – 2 Hydrogen and 2 Oxygen. Drag the Hydrogen Peroxide to your Inventory
    3. Luminol – 7 Hydrogen, 8 Carbon, 3 Nitrogen, 2 Oxygen. Drag the Luminol to your Inventory


Step 4 – Place a crafting Block in your game and use the following recipe to create your lightsaber

The recipe for a Lightsaber in Minecraft is:

  • Polyethylene on the 3 Left and 3 Right columns
  • Dye in the middle square
  • Luminol in the Bottom middle square
  • Hydrogen Peroxide in the top middle square
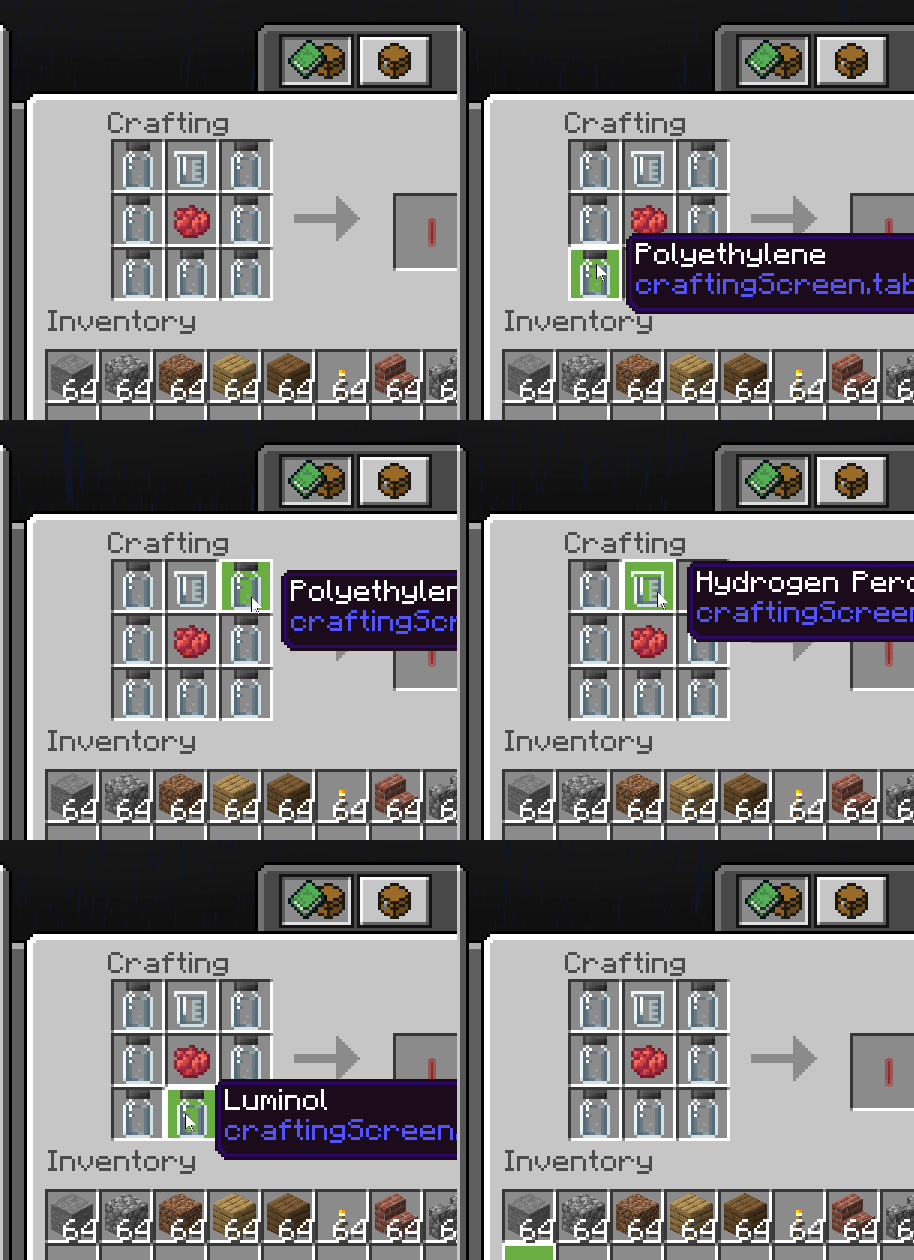
 

minecraft education edition compound recipe lightsaber

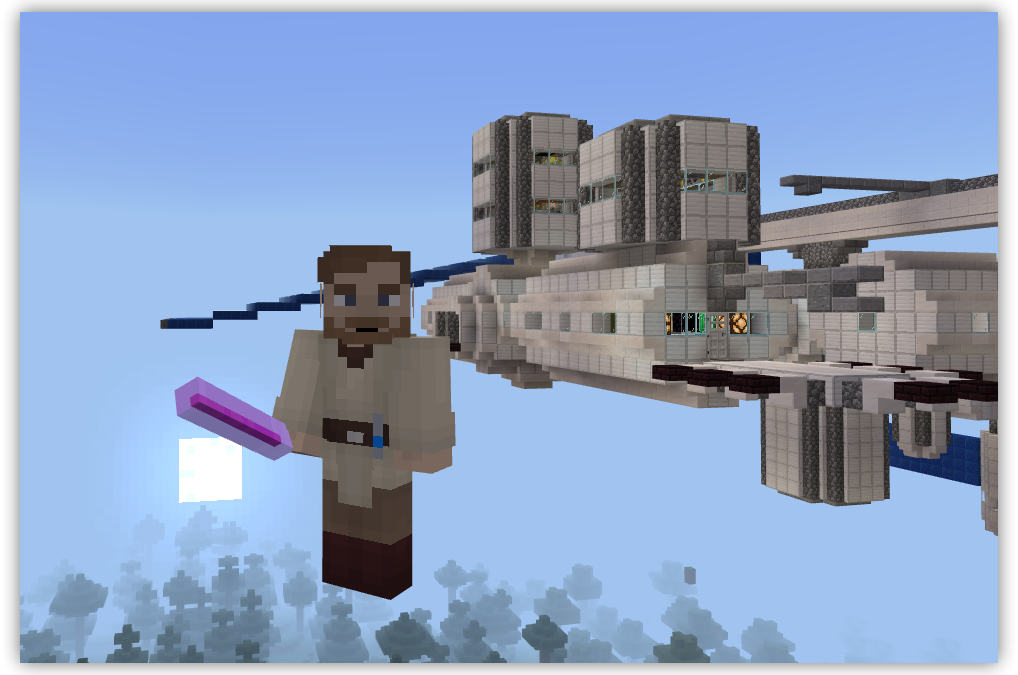
Close the Inventory and select the lightsaber – share a screenshot of your new skin with your friends at school but keep it a secret how you did it!!  😎

Minecraft: Education Edition – 3D Printer World – a class set of Printers

Minecraft: Education Edition – 3D Printer World – a class set of Printers

Exporting structures that have been created in Minecraft is a great way for students to re-present their work and any evidence of learning in other formats – including 3D Print. In another Post I went through how to Export structures from Minecraft as 3D Objects.

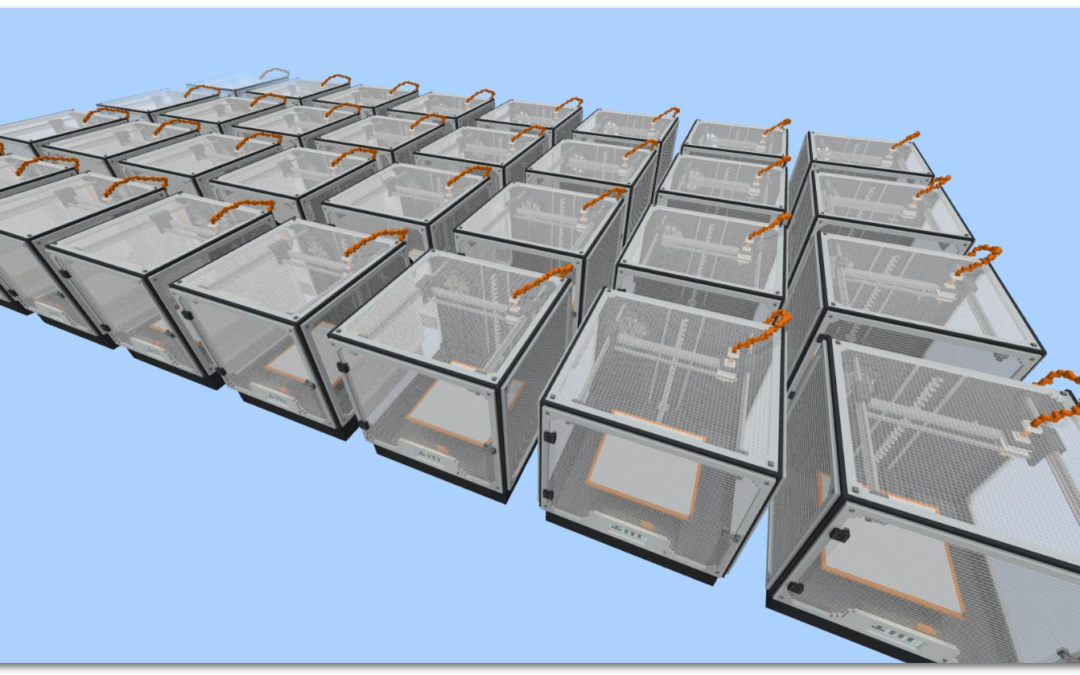
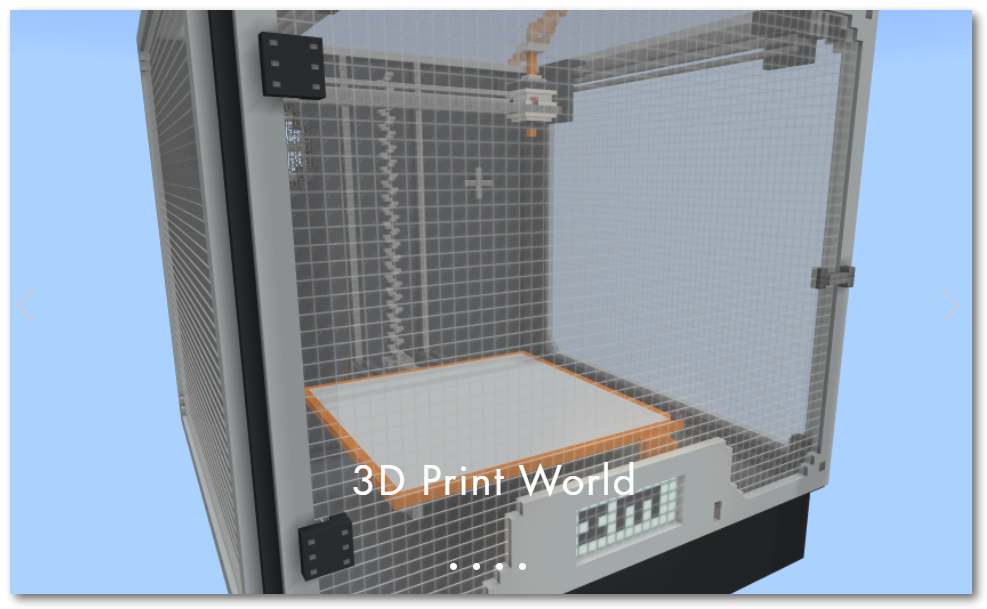
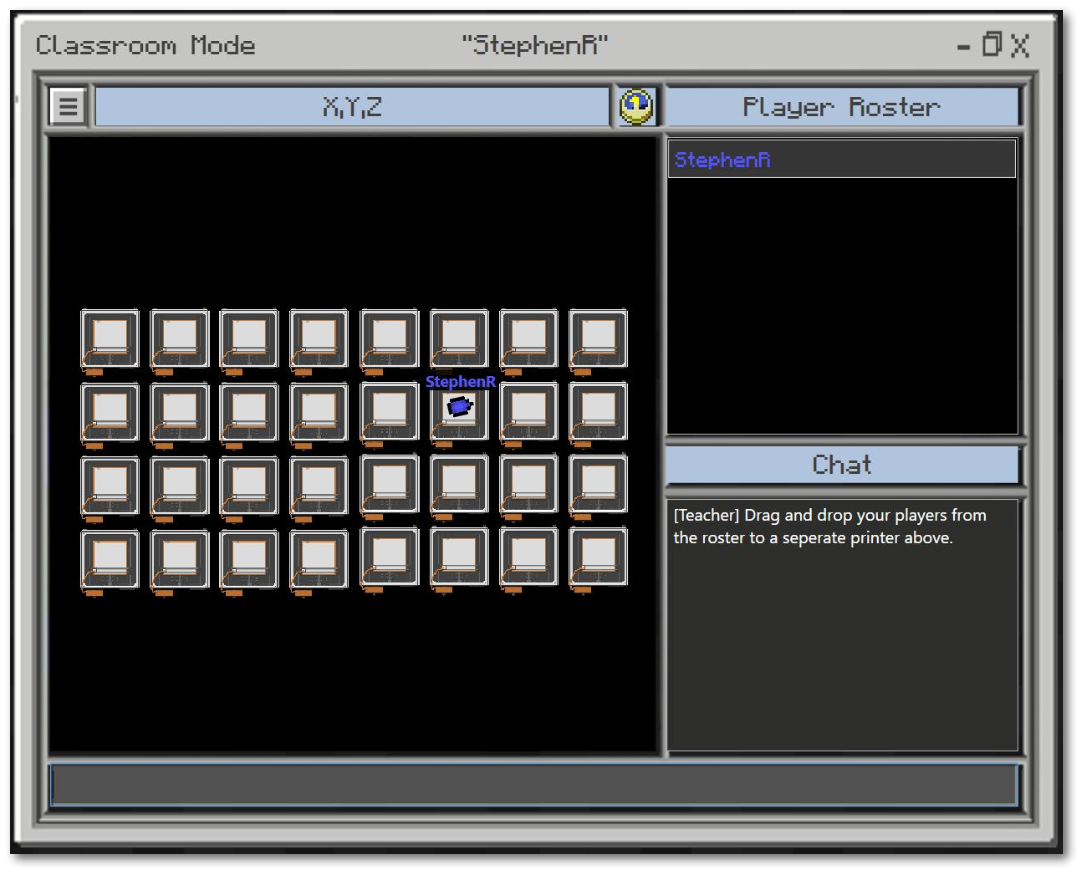
I recently attended a Microsoft Education webinar where Stephen Reid presented and in following up the resources he has created came across his 3D Printer World.  This is a world which looks and works like a 3D printer making it much easier to export a structure from Minecraft. He has also created a Class Set of Printers so the whole class can construct and export – even work together!

build on a Minecraft 3D Printer then export and print on real 3d printer
Minecraft 3D printer structure block

Students can access the world, build their structures on the grey Minecraft 3D printer platform and easily export them with the structure block already positioned. Download the 3D Print Worlds from this link – https://www.immersiveminds.com/3d-print-world

There are 2 different sized 3D Printer worlds along with the Class set so everyone can build and export together. Great idea!

Minecraft: Education Edition – How to open your Minecraft Structure with the Merge Cube

Minecraft: Education Edition – How to open your Minecraft Structure with the Merge Cube

In another post I shared how you can export structures from Minecraft: Education Edition using a Structure Block.  Now I want to show you how to view your exported structure using a Merge Cube.

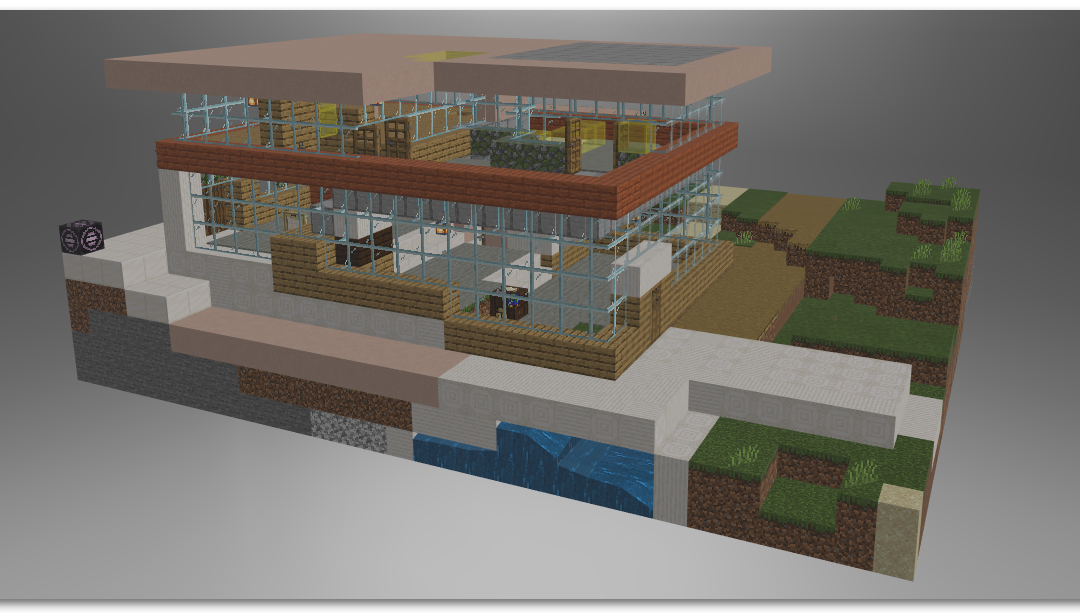
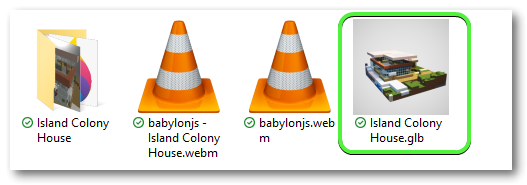
When you export a structure from Minecraft it will save it as a .GLB file. You can open that GLB file up on your computer using Microsoft Paint 3D (free).

Minecraft: Education Edition show on Merge Cube 3D Paint

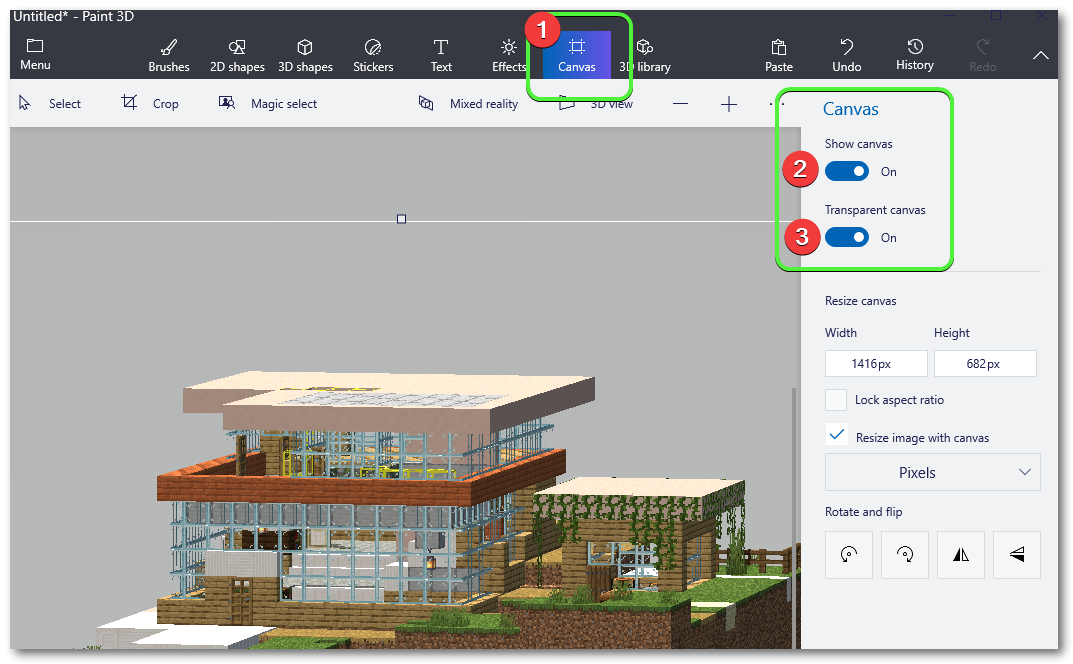
Once the structure is open n Paint 3D, change these settings for the best results:

  1. Click the Canvas tab
  2. Turn Show Canvas on
  3. Turn Transparent Canvas on
Minecraft: Education Edition show on Merge Cube 3D Paint

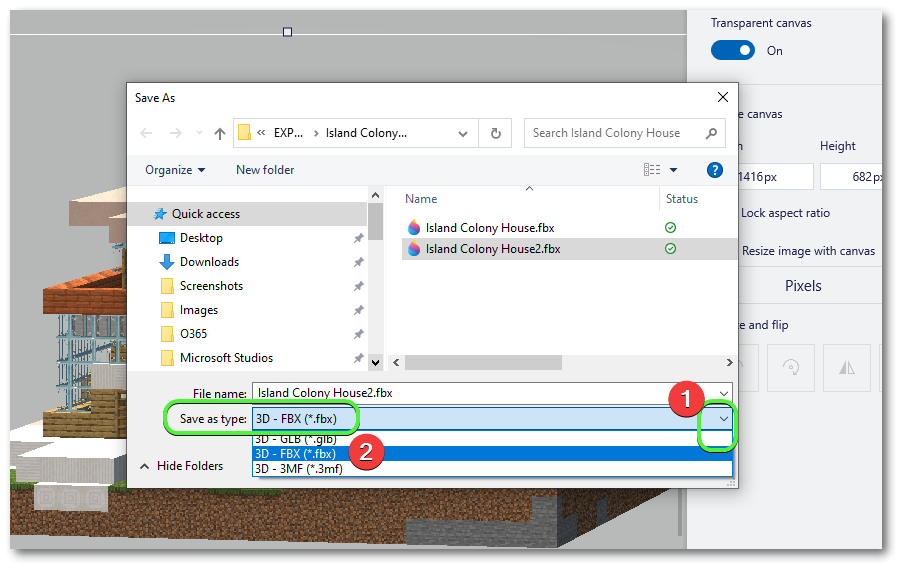
Once you have made those changes Save the image as a 3D model – with the file extension as .FBX.

  1. In Paint 3D click the Menu icon, then choose Save As
  2. Click 3D Model
  3. When the Save as window appears click the File Type drop down arrow
  4. choose the FBX file type to Save As


Minecraft: Education Edition show on Merge Cube 3D Paint

Now that you have your structure from Minecraft in the FBX file format for the Merge Cube you can upload it to the MergeEDU website.

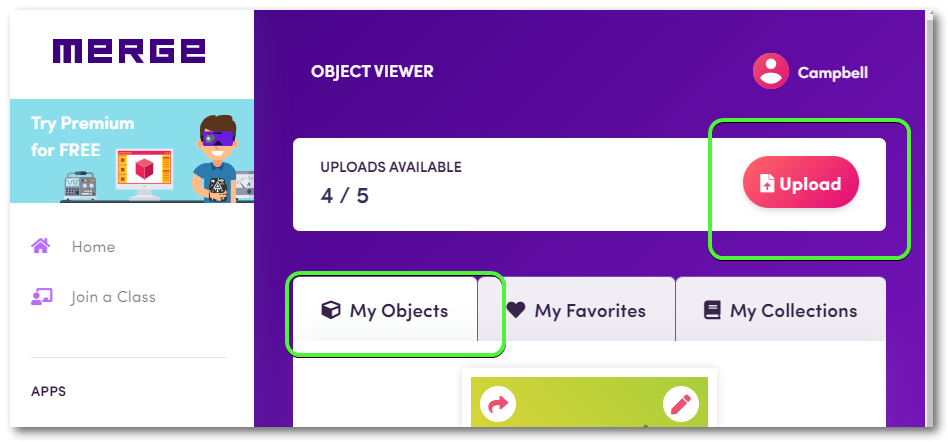
  1. Sign in to Mergehttps://login.mergeedu.com/home  and click the My Objects button
  2. Upload your FBX file
Minecraft: Education Edition show on Merge Cube 3D Paint

You will need to use the Merge app on iOS or Android to use with your Merge cube.  If you do not have a Merge cube you can build your own using this printable Merge cube

You will also need to download the Object Viewer app from Merge

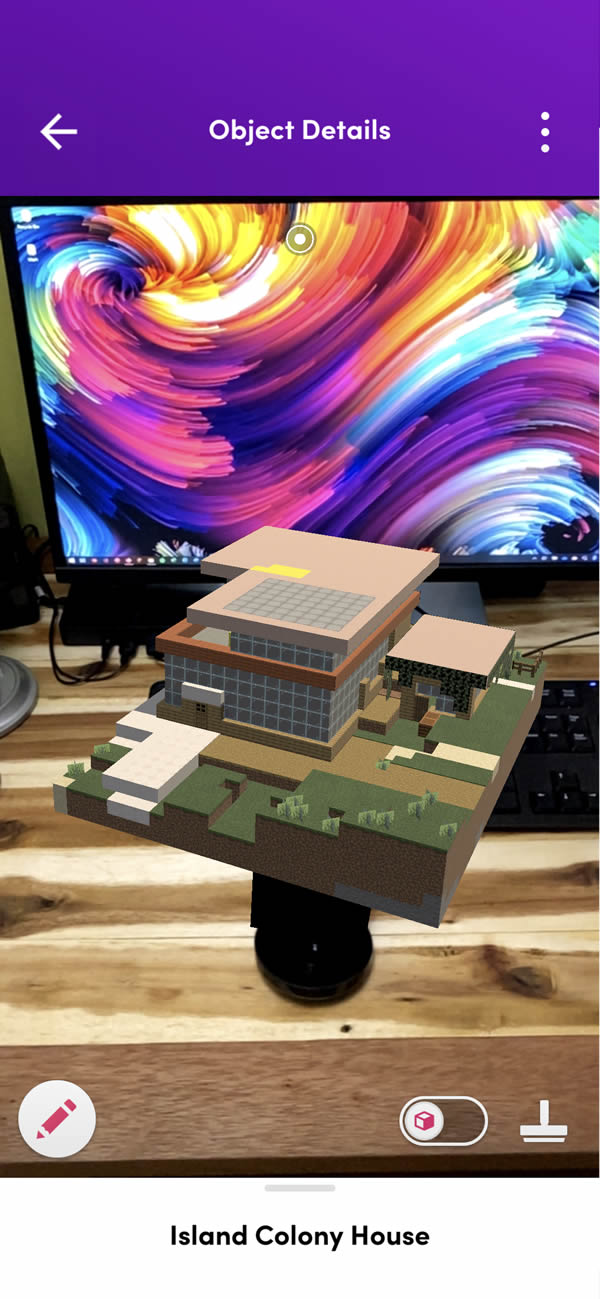
Here’s what my exported structure looks like in the Merge Object Viewer app.  The cube is just sitting on my desk…..

Minecraft: Education Edition show on Merge Cube 3D Paint
Minecraft: Education Edition – Gallipoli World

Minecraft: Education Edition – Gallipoli World

I wanted to create a Minecraft Gallipoli world as a resource for a teaching unit, but then found that some time ago the Auckland Museum had already created one.  Trouble was the folder structure and json files all needed some changes to them to get the world and skins to work in Minecraft:Education Edition.

Here’s how to install the Gallipoli World and packs into Minecraft: Education Edition

It took me an evening to get this right – I think the original packs weren’t up-to-date for the current version of Minecraft:EE because I could not get it done for ages. Turns out the JSON files needed some editing.

Step One

Download from here – all the ZIP file containing repacked files for Minecraft Education Edition Gallipoli world

Step Two

Unzip the archived folder
Inside you’ll see 4 files
– anzac_resources.zip
– Gallipoli.mcpack
– Gallipoli_Auckland_Museum.mcworld
– readme.txt


Step Three

You will need to be able to see Hidden files in File Explorer to view your AppData folder.
To do that open File Explorer and on the Ribbon click the View tab then select Hidden Items

Minecraft:Education Gallipoli world and resources


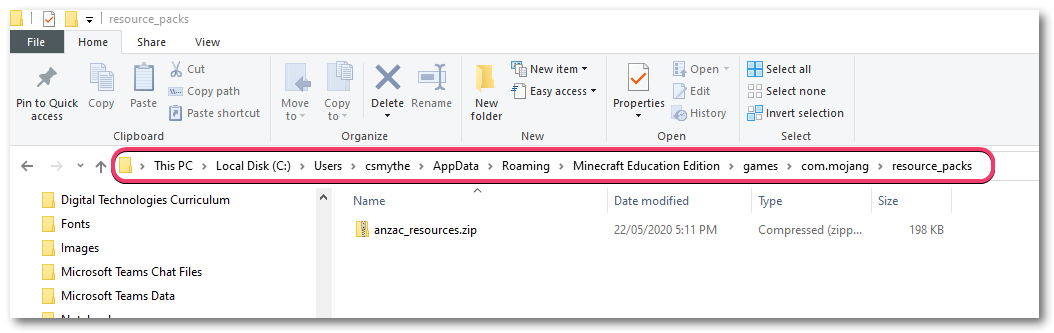
Copy the file – anzac_resources.zip and paste it in the location –  [Your Harddrive]\Users\[yourusername]\AppData\Local\Packages\Microsoft.MinecraftEducationEdition_8wekyb3d8bbwe\LocalState\games\com.mojang\resource_packs

Quick tip: instead of clicking through the folders, copy and paste %LOCALAPPDATA%\Packages\Microsoft.MinecraftEducationEdition_8wekyb3d8bbwe\LocalState\games\com.mojang into the address bar at the top of File Explorer and press Enter to go straight there.

Minecraft: Education Edition Gallipoli world

Step Four

Double click – Gallipoli.mcpack and the Skin Pack will be imported into Minecraft:EE
Double click – Gallipoli_Auckland_Museum.mcworld and the Gallipoli world will be imported into Minecraft:Education Edition

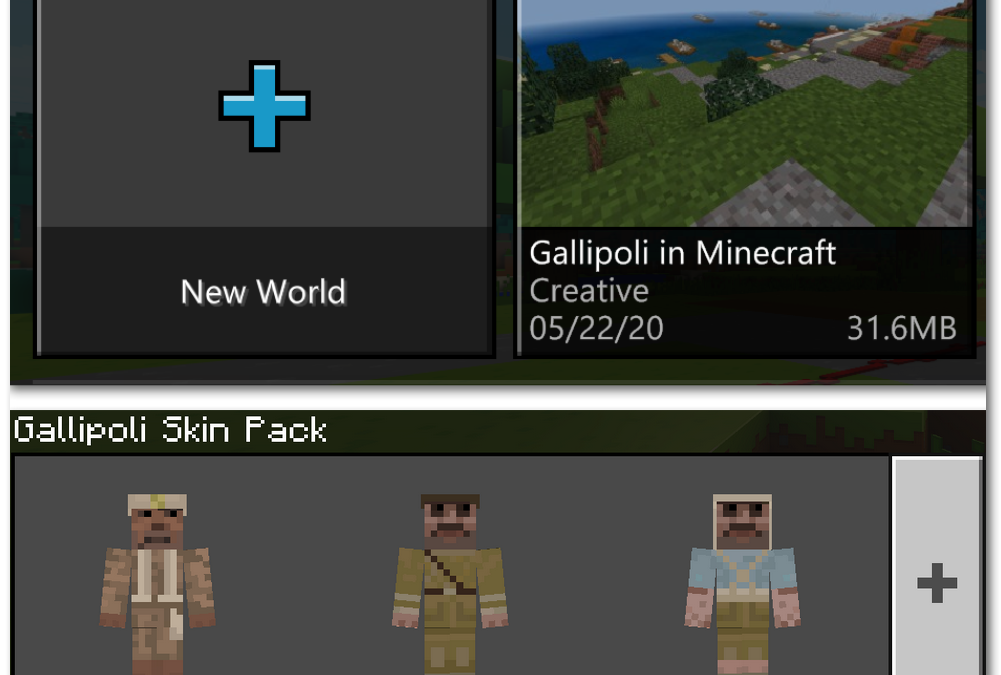
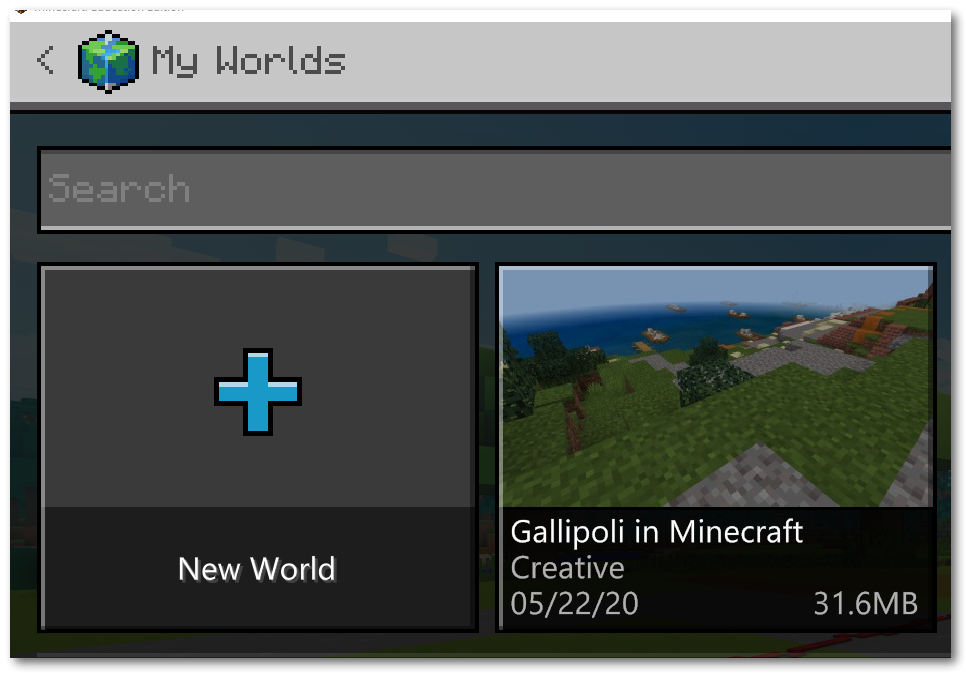
Now in Minecraft: EE you will be able to open the Gallipoli in Minecraft world
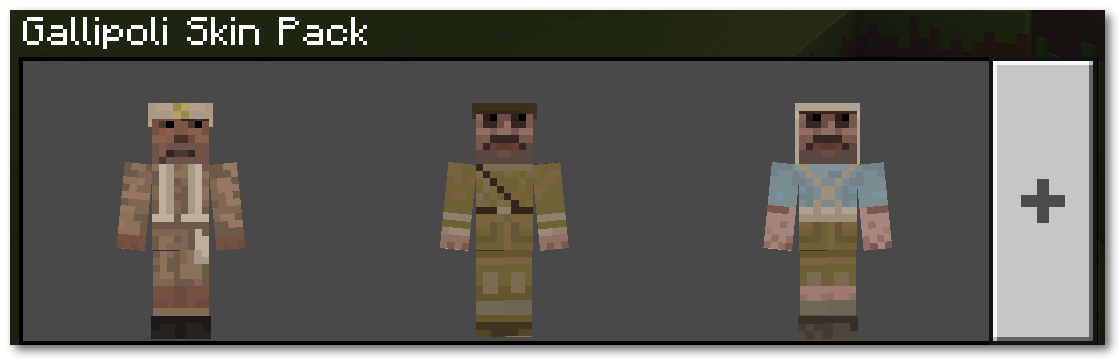
You can also select a skin from the Gallipoli Skin Pack

NOTE: The Skins and Resource Pack will need to be on each users device for them to access

Gallipoli World in Minecraft Education Edition
Minecraft Education Edition Gallipoli Skin Pack
Minecraft: Education Edition – Helping Teachers get started

Minecraft: Education Edition – Helping Teachers get started

Minecraft: Education Edition can be difficult for adults to understand why it would be used in Learning.

For many it appears as just a game where students can build things. So the connection people make is something along the lines of “My class is studying Ancient Egypt, so I’ll get them to create Pyramids in Minecraft….”.  While this might be great for you as you get started in using Minecraft with learning you shouldn’t stop there.

If you are teaching and have heard something about Minecraft in the classroom, check out this video lesson from Stephen Reid which introduces you to starting to play but also shows you some of what is possible by creating and using Minecraft Worlds built for learning experiences.