This guide takes you through the process of creating a custom Skin Pack and importing it into Minecraft: Education Edition.

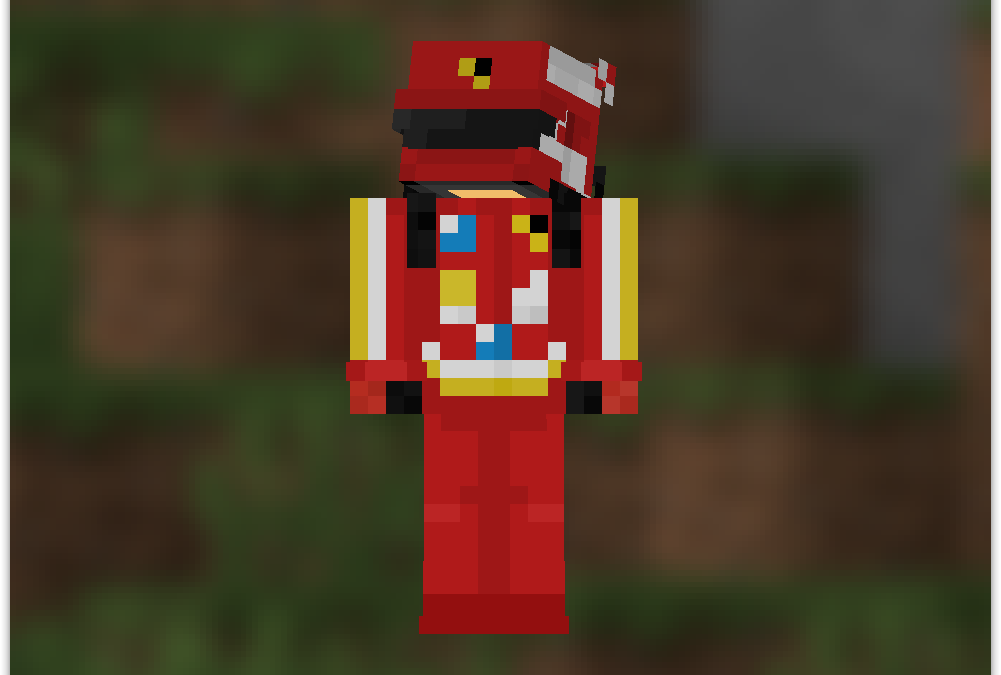
Minecraft Education skin – F1 Lewis Hamilton
F1 Lewis Hamilton Skin Pack Minecraft Education
This guide shows you how you can customize your appearance in Minecraft: Education Edition to famous Formula 1 driver Lewis Hamilton.
If you want to do this on your iPad see the guide HERE
Minecraft Education Edition requires you to import a MCPACK file which contains all the files required for your F1 Lewis Hamilton Minecraft skin.
Here are the steps to import the skin to Minecraft education on your PC computer.
- Download the F1 Lewis Hamilton skinpack
- Open Minecraft Education Edition on your PC
- Right click the downloaded skinpack file and choose Open with – Minecraft Education
- The import process will begin and the F1 Lewis Hamilton skin will appear in your Skin Library


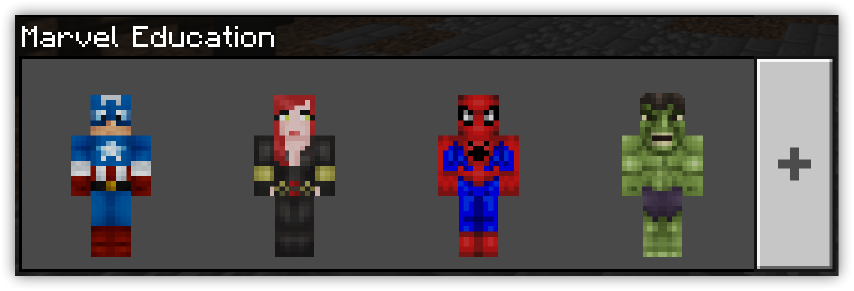
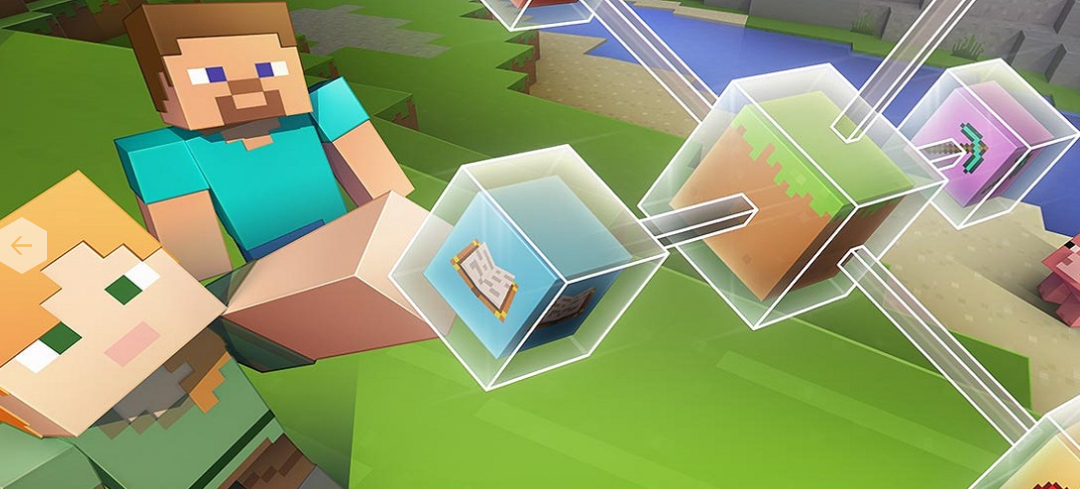
Minecraft: Education Edition – How to Add Custom Skins
read more
Minecraft: Education Edition – How to add a custom skin on Apple iPad
On your iPad – here’s how you can add a custom skin to Minecraft Education Edition.
Minecraft: Education Edition – How to add a custom skin on android mobile phone
NOTE: if you don't download the FX File Explorer app and follow the steps below, then this won't work. The android phone file browser won't do anything with the MCPACK file. Every gamer wants to have their own player skin - here's how you can set your custom skins...
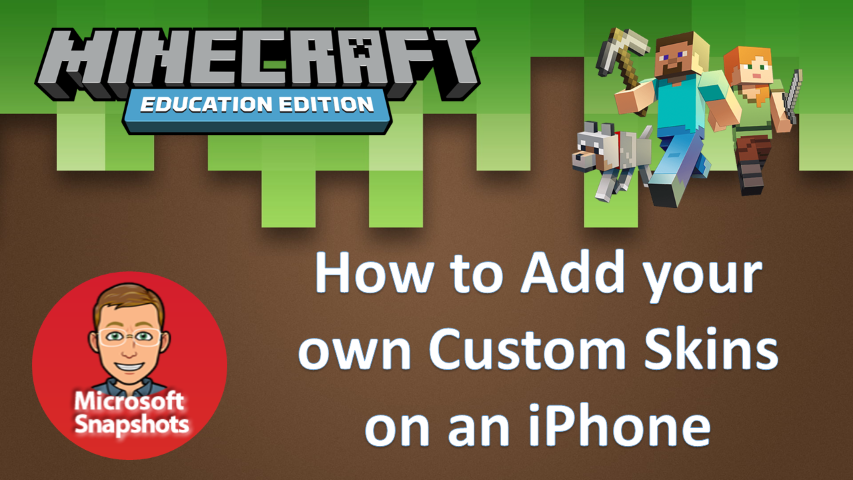
Minecraft: Education Edition – How to add a custom skin on Apple iPhone
This guide shows you how to install custom skins to Minecraft: Education Edition on an iPhone
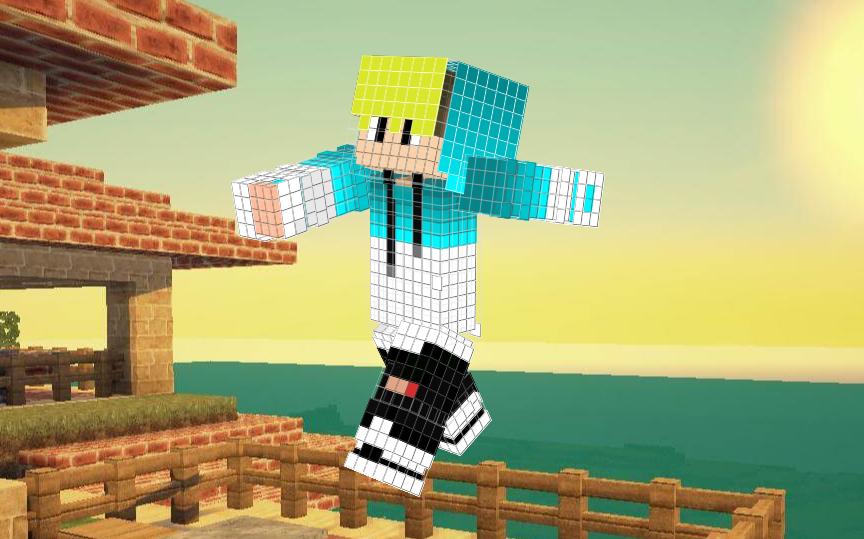
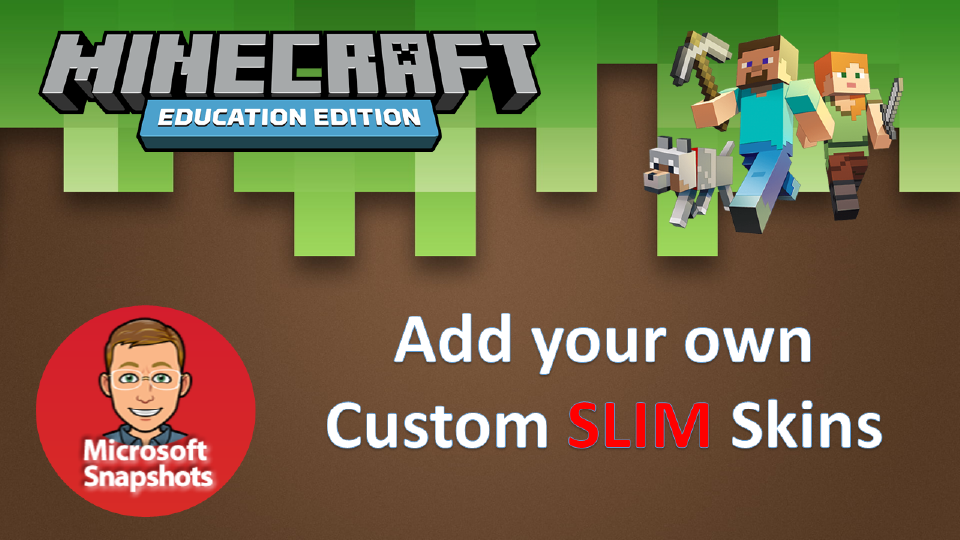
Minecraft: Education Edition – Create your own Skins
Your character’s appearance in Minecraft is determined by the Skin that you choose for them. This guide will show you where you can download and create your own character skins for Minecraft Education Edition.
Minecraft: Education Edition – Void World
A Void World for you to download and use in Minecraft Education Edition.
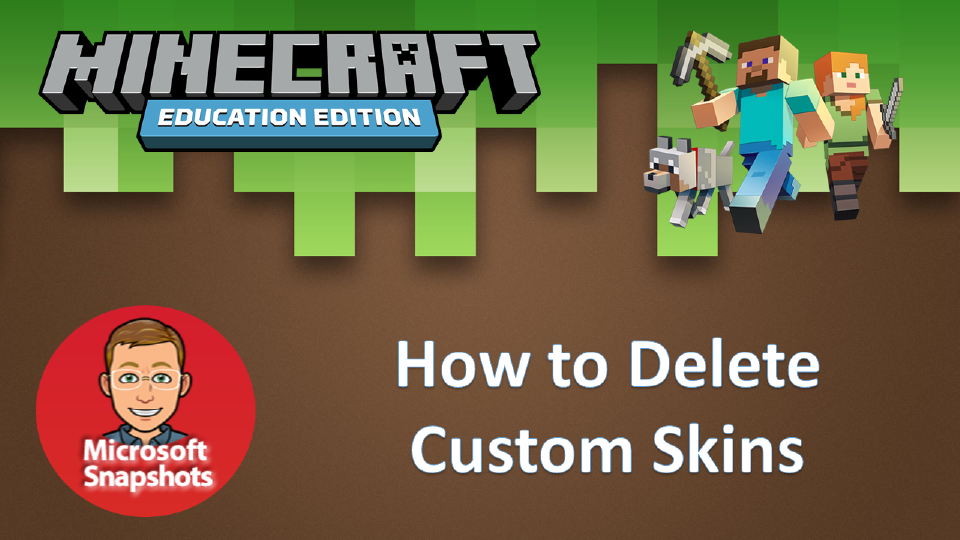
Minecraft: Education Edition – How to Delete Custom Skins
How do you delete custom skins and skinpacks from Minecraft Education Edition? Follow these three steps.
Minecraft: Education Edition – What is it?
Minecraft is an “open world” game where participants can mine resources and use them to craft things. Minecraft: Education Edition, is a special version of the game designed for schools and available to staff and students using their Microsoft Office 365 logins.